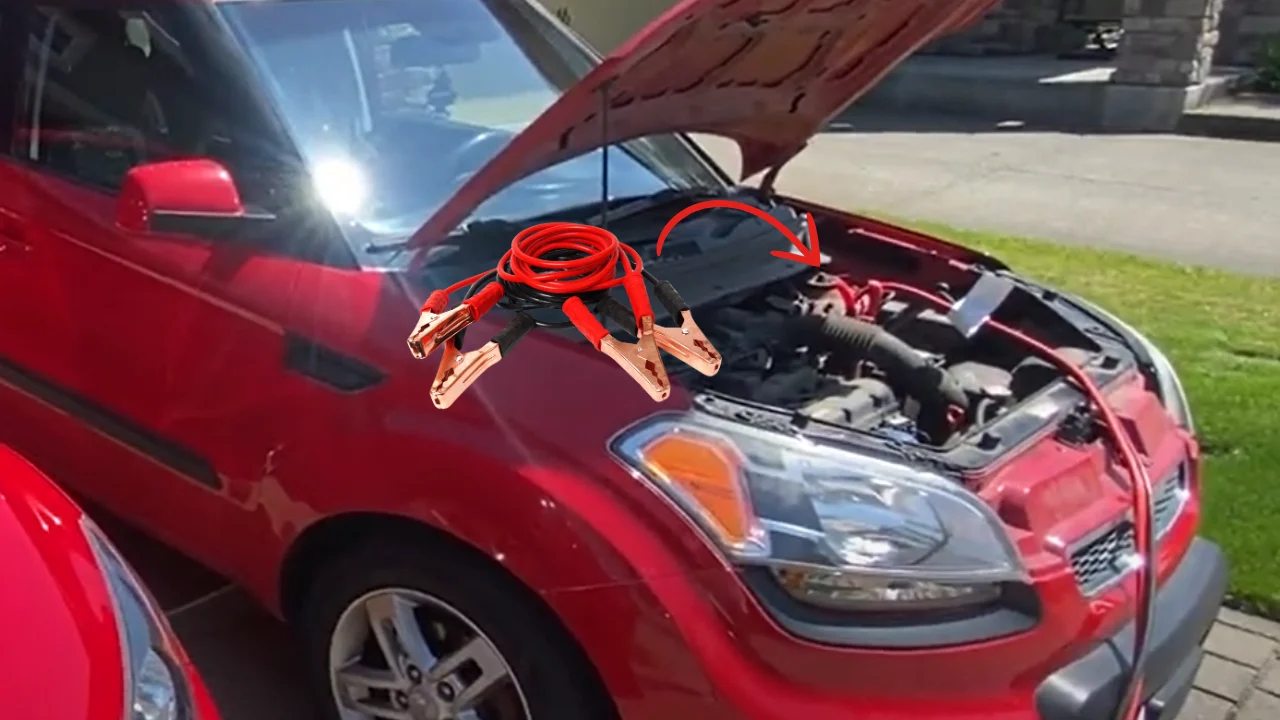
When I first learned how to use jumper cables to start a dead vehicle, I was surprised at how straightforward the process was. Did you know that around 20% of drivers experience battery-related issues each year? Understanding the steps involved can save you time and frustration on the road. Check our tips on how to jump start a car with a battery pack for a hassle-free experience.
Keeping a set of jumper cables in my car is essential, especially since more than 60 million cars in the U.S. have batteries that are at least three years old. Knowing the right technique not only helps you but can also assist fellow drivers in need. It’s a handy skill to have!
Quick Look
Connect the red clamp to the dead battery’s positive and the other red clamp to the donor battery’s positive. Attach the black clamp to the donor battery’s negative and the other black clamp to the dead vehicle’s metal surface. Start the donor vehicle, wait a few minutes, then try to start the dead vehicle.
Is it safe to jump-start a car in cold weather?
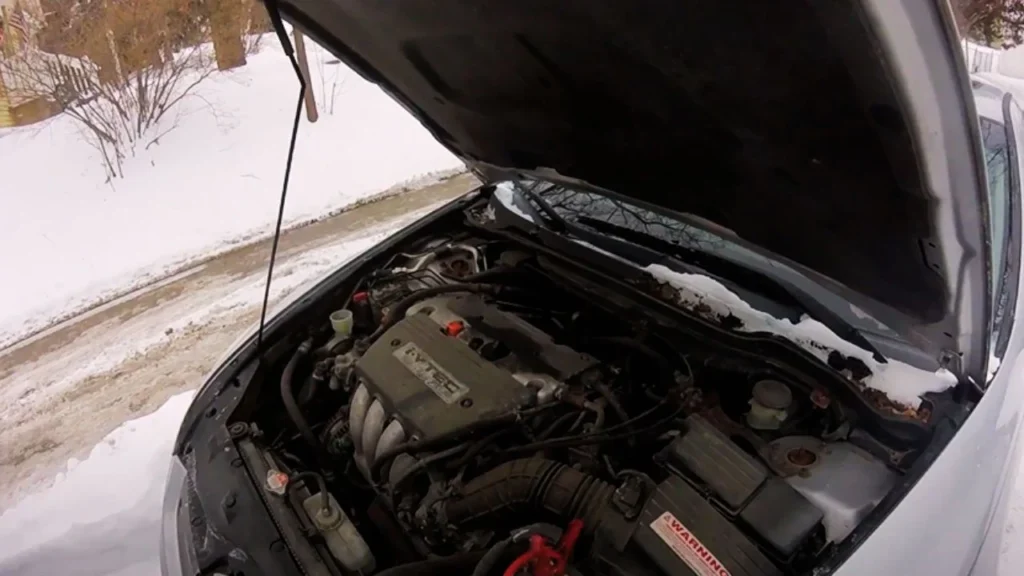
Yes, it is generally safe to jump-start a car in cold weather, but some precautions are necessary. Cold temperatures can significantly reduce battery performance, making it harder for a dead battery to accept a charge.
When attempting a jump start in frigid conditions, ensure that both vehicles are parked safely, and wear gloves to protect your hands from the cold.
It’s advisable to let the donor vehicle run for a few minutes before attempting to start the dead vehicle, as this can help warm the battery and improve its chances of starting. Always follow safety guidelines to prevent accidents. Explore the process of how do you jump start a 24-volt system safely and effectively.
What Are Jumper Cables?
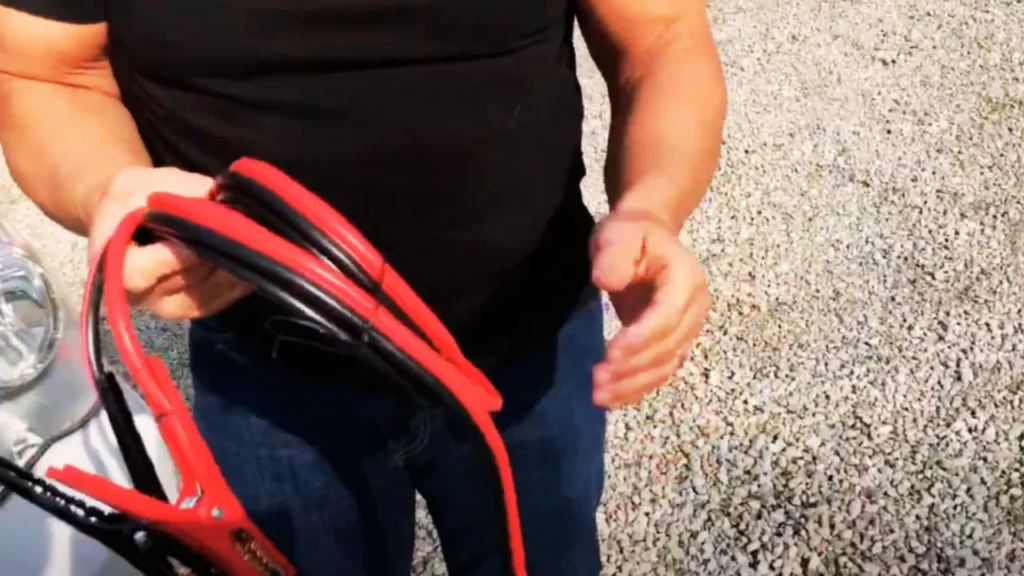
Jumper cables are a pair of insulated wires that connect two batteries, allowing power to flow from a working battery to a dead one. Typically, they come in lengths of around 12 to 20 feet, making it easy to connect vehicles that are parked close together. This tool is essential for jump-starting a car, especially when you find yourself stranded.
Components of Jumper Cables
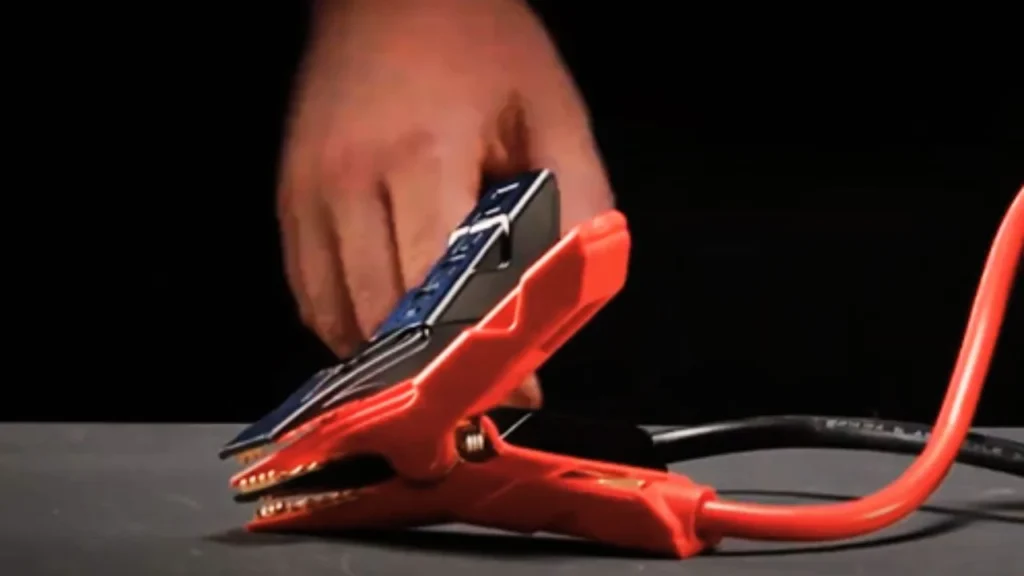
The cables have two clamps at each end—one red for positive and one black for negative. The clamps are often made of sturdy metal, designed to provide a secure connection. Most jumper cables are rated between 4 to 8 gauge, which indicates their thickness and ability to carry current effectively.
Safety Considerations

Safety is crucial when using jumper cables, so it’s important to handle them with care. I always recommend wearing gloves to protect your hands from potential battery acid exposure. And remember, when connecting cables, avoid letting the clamps touch each other to prevent sparks.
Preparing for the Jump-Start
Before jumping a dead vehicle, I always make sure to prioritize safety. I find it crucial to park both vehicles in a way that they’re not touching, with the dead vehicle in “Park” or “Neutral.” Engaging the parking brakes is a must to prevent any unexpected movement—it’s a simple step that adds a layer of safety.
Next, I turn off all electrical components, like the radio and headlights, in both vehicles. This prevents any electrical surge that might occur during the jump-start process. I’ve learned that this little precaution can save you from potential damage to the vehicle’s electrical systems.
Inspecting the jumper cables is something I never skip. I check for any signs of wear, such as frayed wires or corroded clamps. Having a good pair of jumper cables, typically 12 to 20 feet long, is essential for safely reaching between vehicles, especially if they’re parked at a distance.
Step-by-Step Guide: How to Use Jumper Cables to Start a Dead Vehicle
In this section, I’ll share the essential steps to jump-start a dead vehicle using jumper cables. Following these instructions will empower you to handle battery troubles with ease and safety!
Step 1: Position the Vehicles

Ensure the donor vehicle is parked close to the dead vehicle without touching. Ideally, they should be about 18 inches apart for easy access to both batteries.
Step 2: Connect the Red Clamp
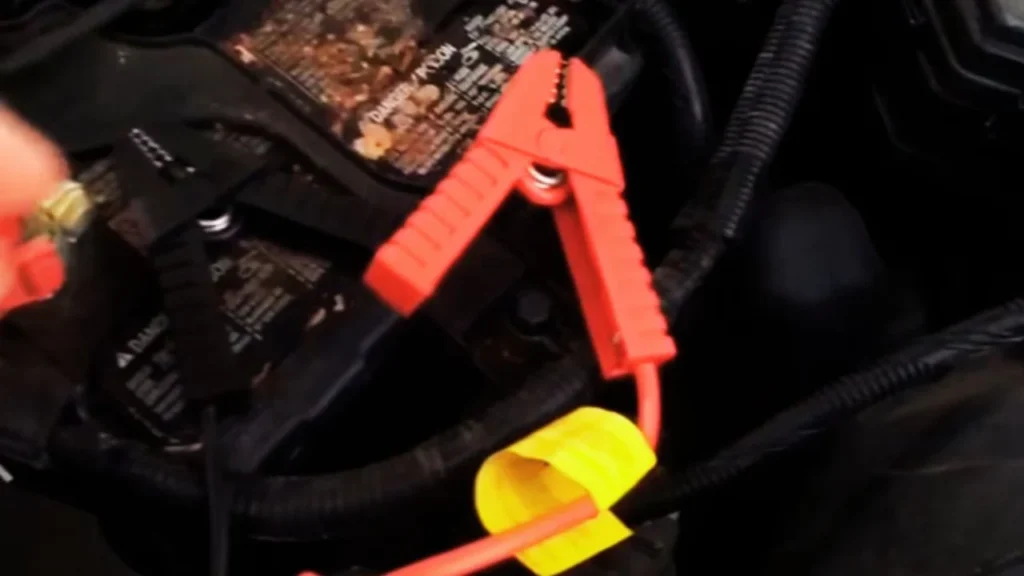
Attach the red clamp to the positive terminal of the dead battery, which is usually marked with a “+” symbol. This step is crucial to establish a connection to the battery.
Step 3: Connect the Other Red Clamp
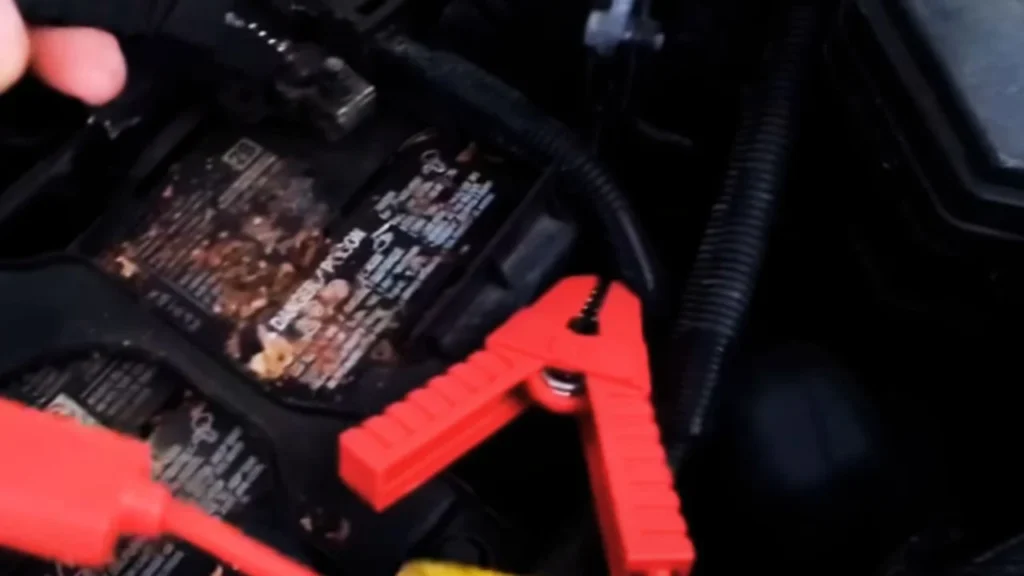
Connect the other end of the red clamp to the positive terminal of the donor battery. Make sure the connection is secure to allow for a proper transfer of power.
Step 4: Attach the Black Clamp

Take the black clamp and attach it to the negative terminal of the donor battery. This terminal is typically marked with a “-” symbol and is essential for completing the circuit.
Step 5: Connect the Remaining Black Clamp
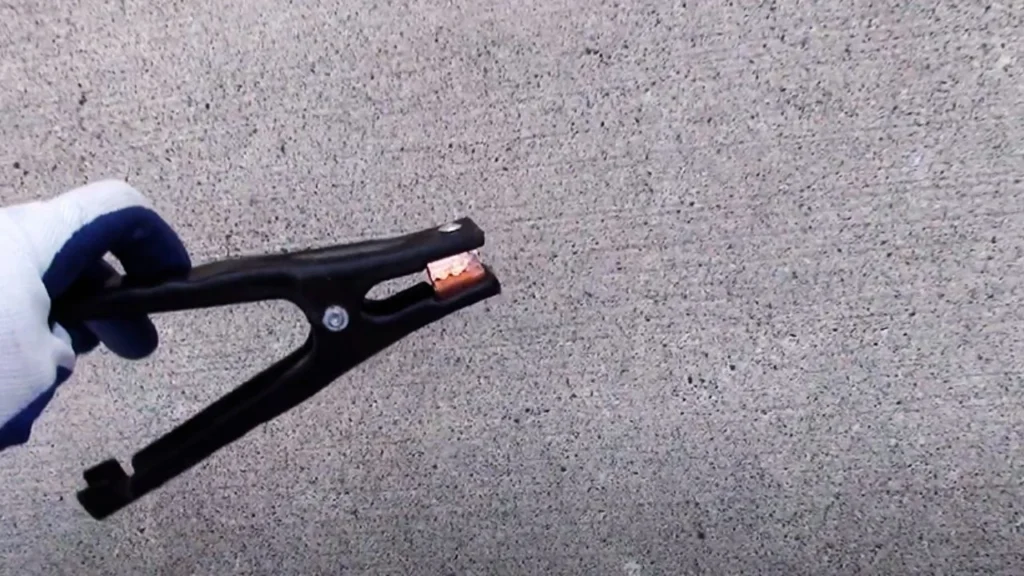
Connect the remaining black clamp to an unpainted metal surface on the dead vehicle, like a bolt on the engine block. This helps reduce the risk of sparks during the jump-start process.
Step 6: Start the Donor Vehicle
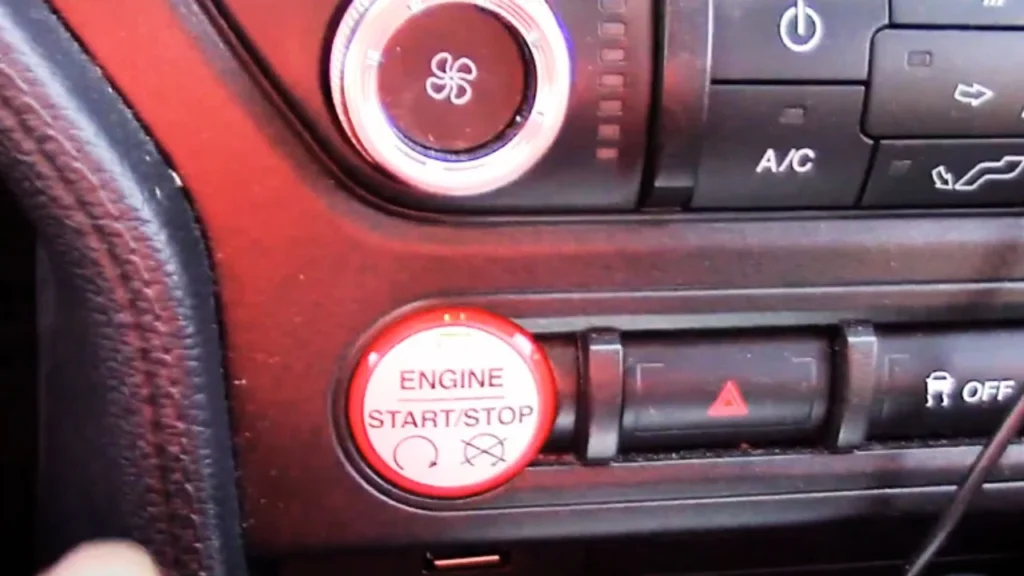
Start the donor vehicle and let it run for about 2-3 minutes. This gives the dead battery some charge before attempting to start the other vehicle.
Step 7: Start the Dead Vehicle
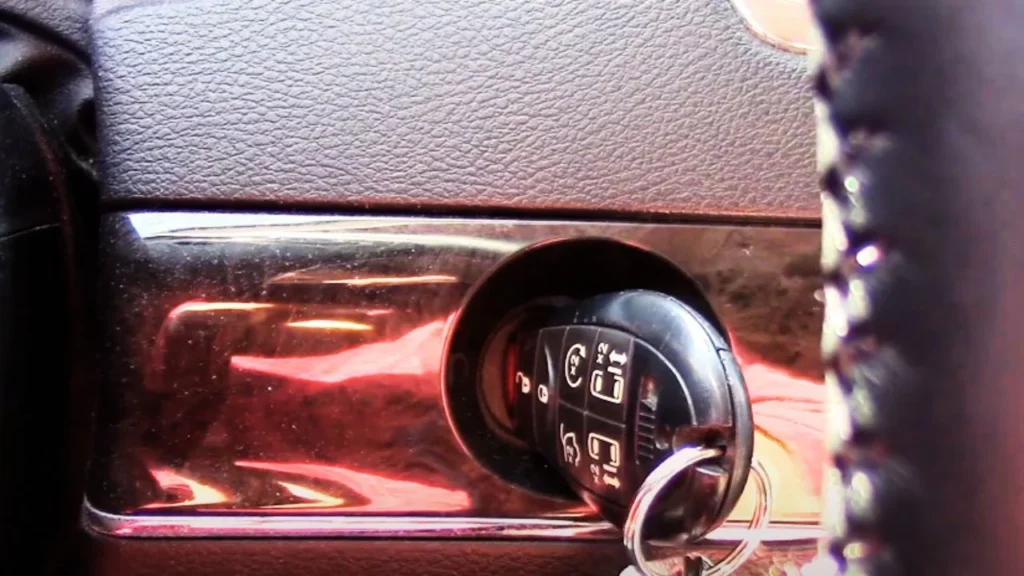
Attempt to start the dead vehicle. If it doesn’t start within 5 minutes, you may need to check for deeper issues with the battery or electrical system.
Step 8: Let the Revived Vehicle Run

Once the dead vehicle starts, allow it to run for at least 20 minutes. This allows the alternator to recharge the battery effectively.
Step 9: Disconnect the Jumper Cables

Remove the jumper cables in reverse order: black clamp from the revived vehicle, black clamp from the donor vehicle, red clamp from the donor battery, and finally, the red clamp from the revived vehicle.
Step 10: Ensure Safety and Functionality
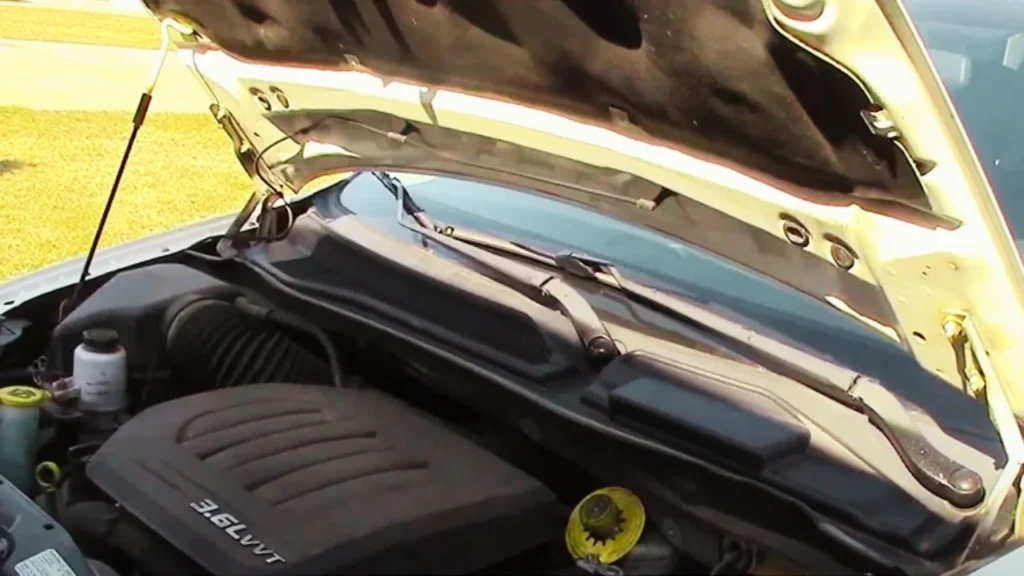
After disconnecting the cables, check both vehicles for proper functioning. It’s important to make sure everything is working well before driving off.
Troubleshooting
When Your Vehicle Doesn’t Start

When you’re in a bind and your dead vehicle doesn’t start after a jump, it can be frustrating. I’ve been there, and it’s essential to remember that a dead battery isn’t always the problem. Sometimes, it could be a faulty alternator, which is responsible for charging your battery while the engine runs.
Signs of an Alternator Issue
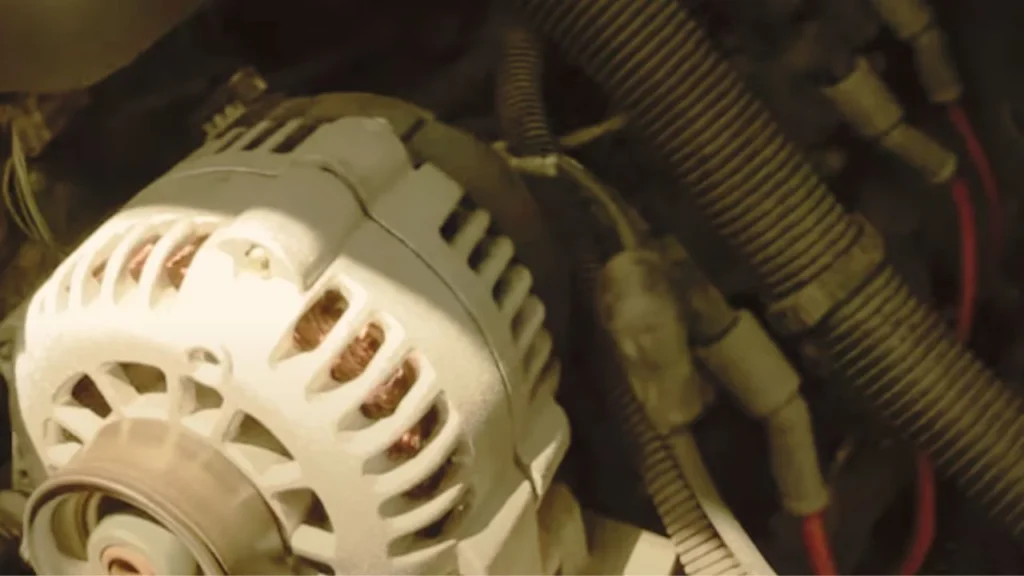
If your vehicle dies shortly after disconnecting the cables, that’s another red flag. In my experience, this often indicates that the alternator isn’t functioning correctly, leaving your battery without a reliable charge. A trip to the mechanic might be the best choice here, especially if you’re unsure about the battery’s condition.
Regular Battery Maintenance
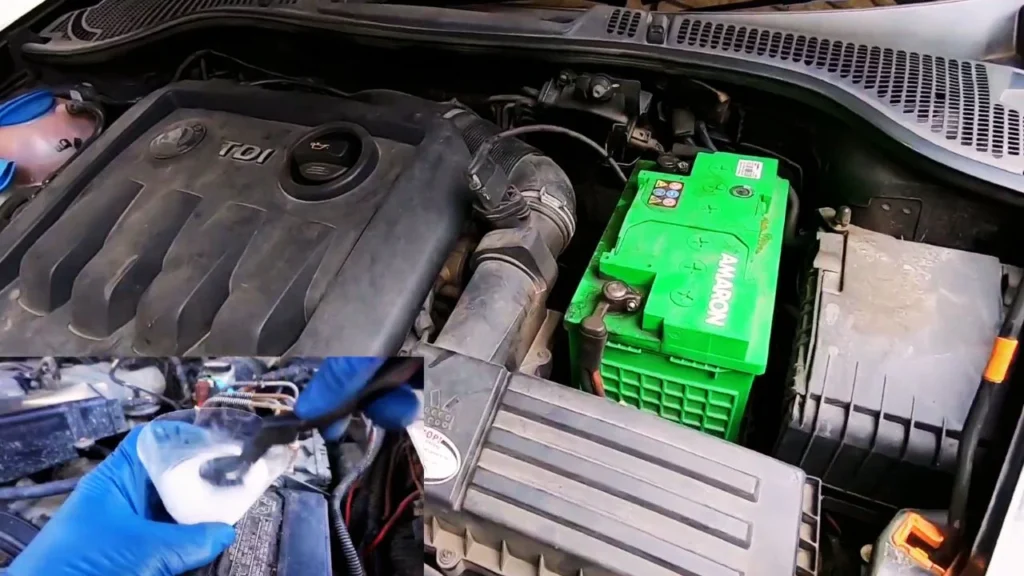
It’s always a good idea to check your battery health regularly. Did you know that a battery typically lasts around three to five years? Keeping an eye on your battery can save you from future surprises and keep you on the road. Learn about the advantages of an auto jump starter to keep you prepared for emergencies.
Additional Tips and Best Practices
Consider Using a Portable Jump Starter
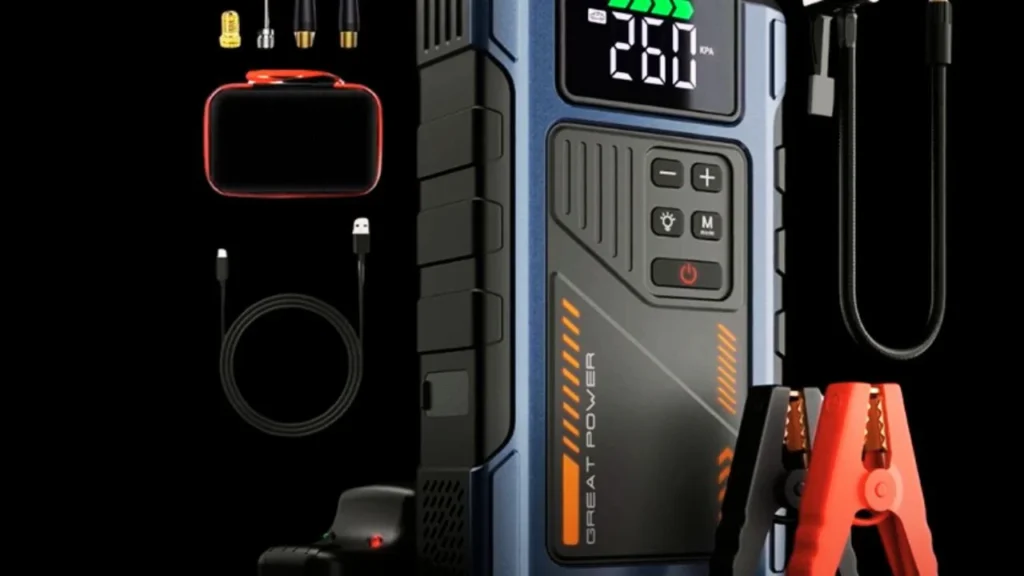
When it comes to jump-starting a car, I always recommend having a portable jump starter on hand. These devices can jump-start a vehicle without needing another car, making them a safer and more convenient option. Plus, many of them are compact and can easily fit in your glove compartment.
Regular Battery Maintenance
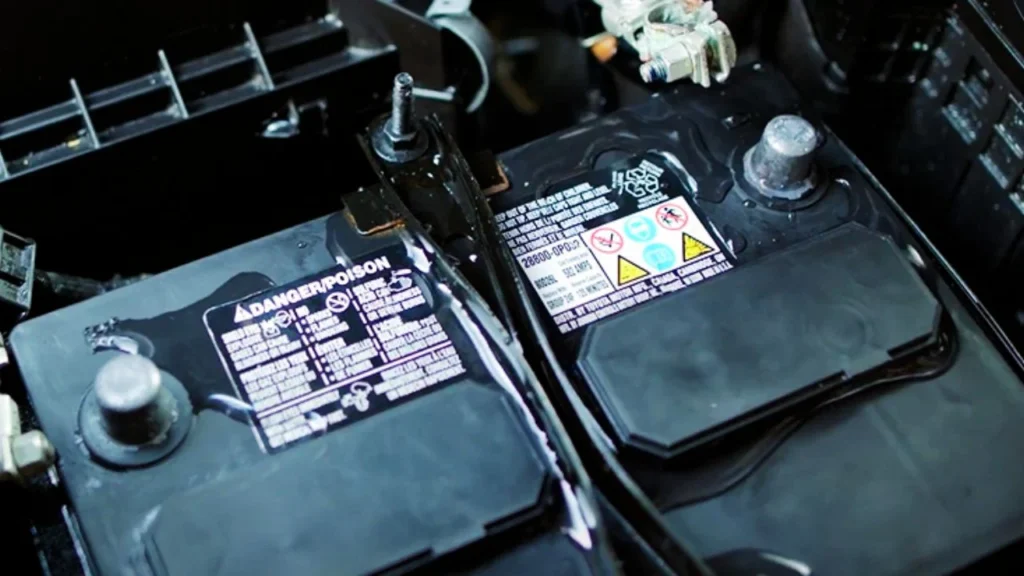
Regular battery maintenance is crucial to prevent unexpected dead batteries. I’ve found that checking your battery every six months can help identify issues early. If you notice any corrosion or leaks, it might be time to replace the battery to avoid future headaches.
Keep Jumper Cables Handy
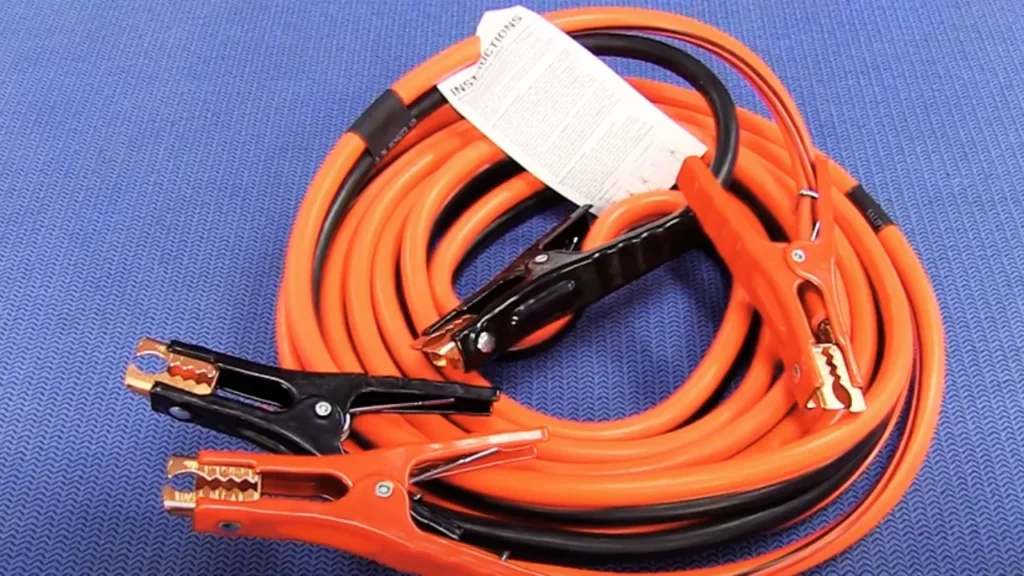
I can’t stress enough the importance of keeping jumper cables in your vehicle. Having a good quality set can save you from being stranded. Look for cables that are at least 10 to 12 feet long; this length provides enough reach between vehicles, even in tight spaces.
Safety First: Avoiding Sparks
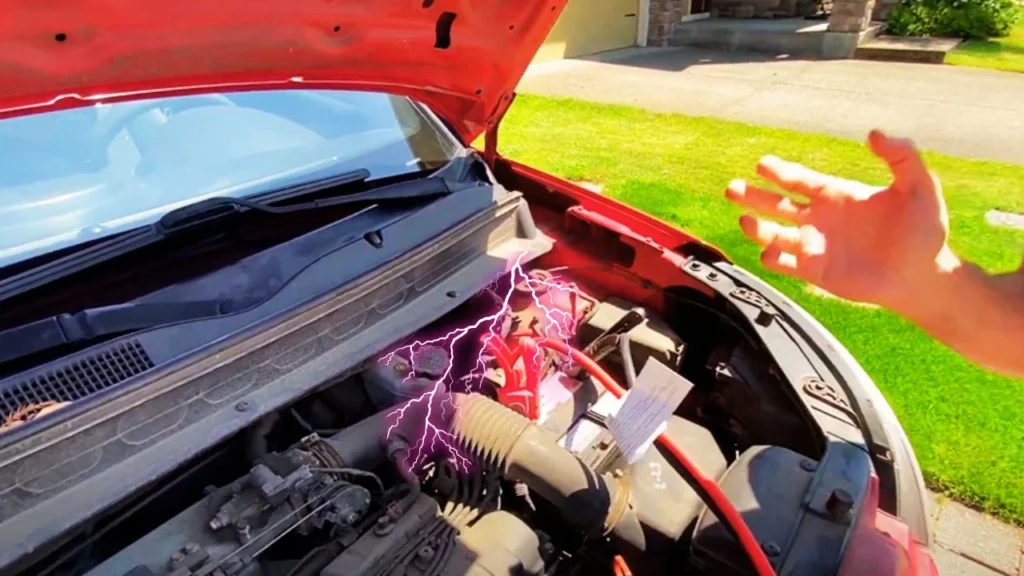
While jump-starting, remember to avoid any contact between the clamps and metal surfaces. This step is essential for preventing sparks and ensuring safety. I always double-check my connections to make sure everything is secure before starting the process.
Assemble an Emergency Kit

In my experience, it’s also wise to have a basic emergency kit in your trunk. This kit should include items like a flashlight, first-aid supplies, and even flares. Being prepared can make all the difference in those unexpected situations on the road.
Final Words
Knowing how to use jumper cables to start a dead vehicle has proven invaluable for me. Each year, over 100,000 roadside assistance calls are related to dead batteries, making this skill essential for any driver.
The process is straightforward, and with a little practice, you’ll feel confident tackling this common issue. Remember, safety first: always follow the steps carefully and inspect your equipment before starting. With this knowledge, you can help yourself or others in times of need! Discover the features of the best compact motorcycle jump starter for easy portability.
