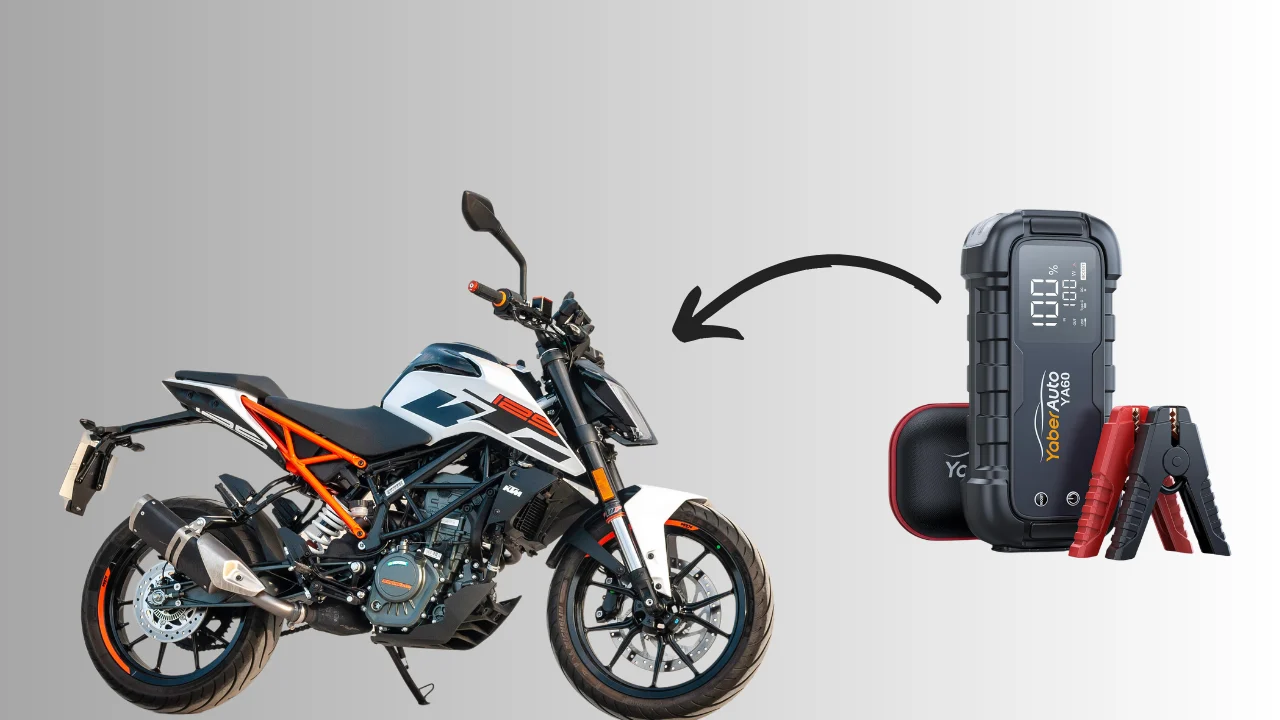
It can be frustrating when my motorcycle battery dies, especially when I’m on the road. That’s why learning how to jump start motorcycle battery is essential for every rider. I can get my bike back up and running quickly with just a few simple steps. Looking for a jump starter for motorcycles? See our list of the best motorcycle jump starters.
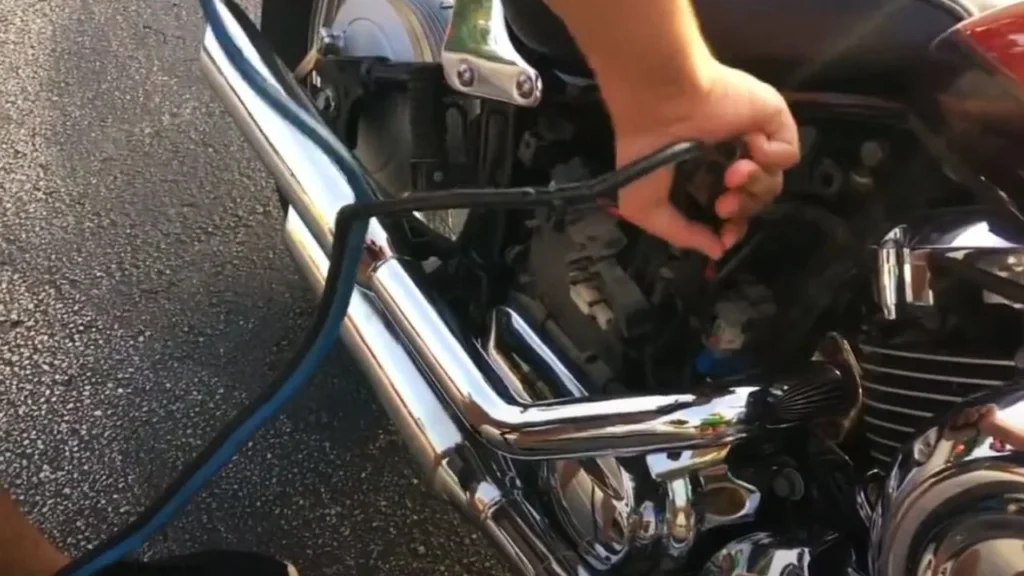
Knowing how to jump start a motorcycle battery not only saves me time but can also help others in similar situations. Being prepared makes all the difference, whether at a gas station or a parking lot. Let’s dive into the process so I can be ready for any battery-related mishap!
What did you need to know about Motorcycle Batteries?
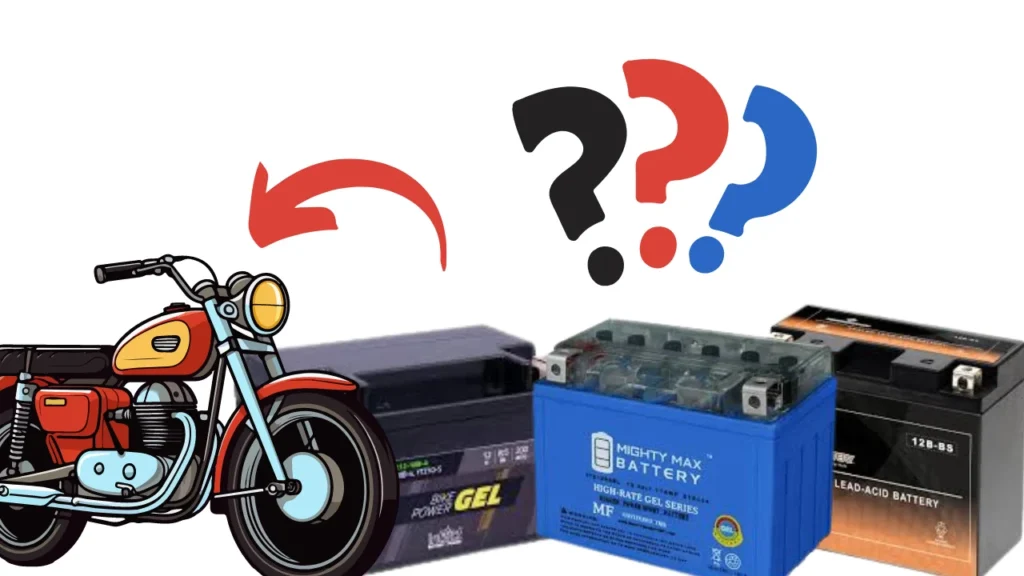
When I first started riding, I learned that there are primarily two types of motorcycle batteries:
- Lead-acid: Typically weighs around 10 to 15 pounds.
- Lithium-ion: Can weigh as little as 3 pounds.
The motorcycle battery can be drained for some reason. The three main causes of battery drain are:
- One of the most common causes of battery drain is simply leaving the lights on. I’ve done this more times than I care to admit! It can drain a lead-acid battery in just a few hours, while a lithium-ion battery can last longer but is still vulnerable if left unattended.
- Temperature also plays a crucial role in battery performance. I’ve noticed that my battery’s efficiency drops significantly in temperatures below:
- 32°F (0°C): Efficiency decreases.
- Extreme heat: This can also shorten battery life.
- I always check the conditions before hitting the road. Regular maintenance is key to prolonging battery life. I make it a habit to:
- Check battery terminals for corrosion.
- Ensure connections are secure.
Need a powerful jump starter? Check out the best commercial jump starters of 2024.
Safety Measures You Should Follow:
When jump-starting a motorcycle, safety is my top priority. I always start by wearing gloves and eye protection to shield myself from any sparks. This simple step is crucial to preventing injuries while I work. Here are the key precautions I take:
- Wear Protective Gear: I always wear gloves and eye protection. This simple step shields me from any sparks and prevents injuries.
- Position the Motorcycles: I ensure the motorcycles are at least 3 feet apart. This distance helps avoid accidental contact and reduces the risk of short circuits.
- Check Battery Condition: Before starting, I inspect both batteries. If I see any cracks or leaks in the motorcycle battery, I stop immediately to avoid complications.
- Turn Off Vehicles: I ensure both motorcycles are completely turned off before connecting the cables. This prevents sudden electrical surges that could damage the electronics.
- Connect Cables Carefully: I connect the positive cables first, followed by the negatives. This order minimizes the risk of sparks and enhances safety during the process.
Learn more about how jump starters work by reading how a jump starter works.
What You’ll Need to Jump Start a Motorcycle
When I prepare to jump-start a motorcycle, I always gather a few essential tools to ensure a smooth process. Here’s what I need:
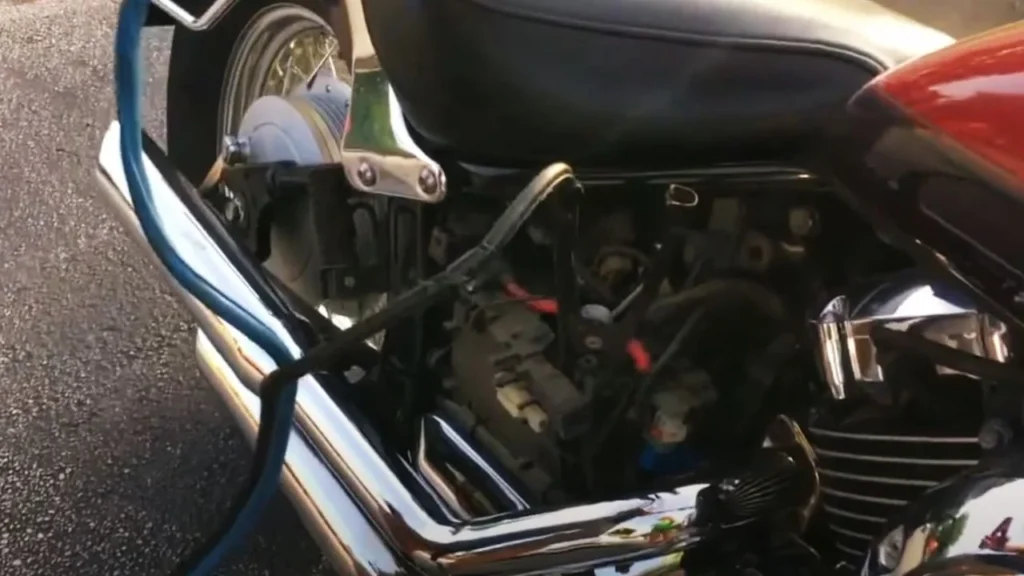
- Jumper Cables: I always opt for a good set of jumper cables, ideally at least 10 to 12 feet long. This length allows me to connect to another vehicle without any hassle.
- Donor Vehicle: A fully charged vehicle is crucial. Using a car is often the best choice because it typically has a larger battery. Before connecting, I make sure the donor vehicle is turned off.
- Safety Gear: I never skip on safety equipment. Safety glasses protect my eyes from potential sparks, and gloves are essential, especially if the battery terminals look corroded or dirty.
- Warm Clothing: I have a warm jacket or blanket handy if the weather is cold. Cold weather can make a battery-less efficient, and staying warm keeps me comfortable while I work.
- Motorcycle Manual: Checking my motorcycle’s manual for specific instructions is necessary. Different models may have unique requirements, and having this information helps me avoid any potential issues during the jump-start.
By preparing these items, I set myself up for success. Being organized makes the jump-start process smoother and safer. I remind myself that a little preparation goes a long way!
In addition to these items, I like to have a flashlight if I work in low-light conditions. This helps me see what I’m doing, especially when connecting the cables to the battery terminals.
Curious about amps for larger vehicles? See how many amps are needed to jump-start a V8 engine.
Step-by-Step Guide to Jump Starting a Motorcycle
Jump-starting a motorcycle is a straightforward process, and I’ll walk you through it step by step. Before we start, ensure you have a working donor vehicle and jumper cables ready.
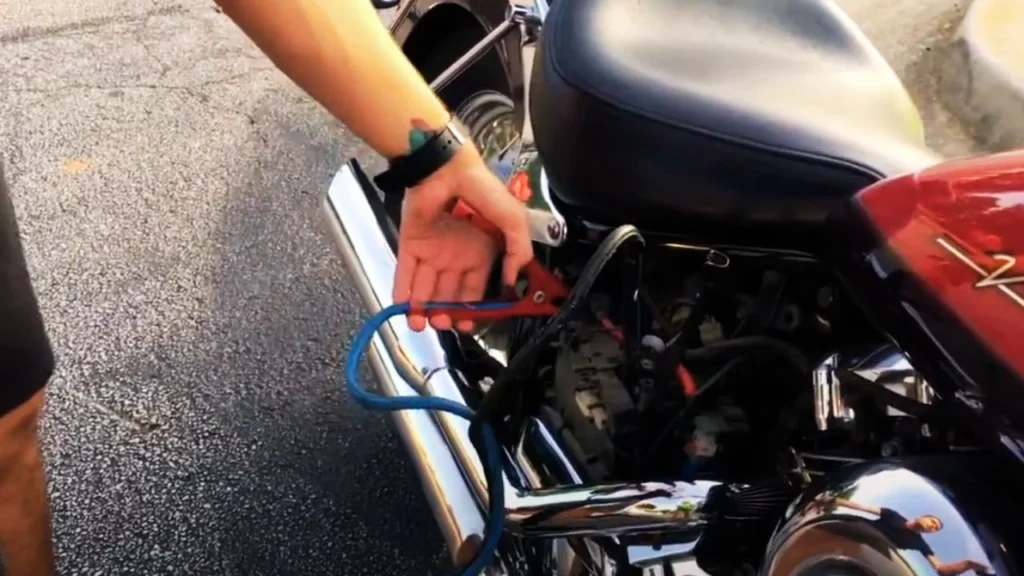
1. Prepare the Vehicles
First, park the donor vehicle close to your motorcycle, but make sure they don’t touch it. Here’s what I do:
- Turn off both vehicles.
- Engage the parking brakes for safety.
- Ensure both batteries are similar in voltage (12V is standard for most motorcycles).
2. Connect the Jumper Cables
Now, let’s get those cables connected. I follow this order to avoid sparks:
- Red Cable: Connect one end to the dead battery’s positive terminal (+).
- Red Cable: Attach the other end to the donor battery’s positive terminal (+).
- Black Cable: Connect one end to the donor battery’s negative terminal (-).
- Black Cable: Attach the other end to an unpainted metal surface on the motorcycle, away from the battery.
3. Start the Donor Vehicle
Next, I start the donor vehicle and let it run for about 5 minutes. This gives the dead battery a chance to charge up. Here’s what to do:
- Ensure all electrical accessories (like lights and radio) are off in both vehicles.
- Keep the donor vehicle stable and idle.
4. Start the Motorcycle
After 5 minutes, I try to start my motorcycle. If it doesn’t start immediately, I wait a few more minutes and then try again. Here’s what I keep in mind:
- If the engine turns over but doesn’t start, I try again after a brief pause.
- Let it run for a few minutes to build up a charge if it starts.
5. Disconnect the Cables
Once the motorcycle runs smoothly, I carefully disconnect the cables in reverse order. Here’s how I do it:
- Black Cable: Remove from the motorcycle first.
- Black Cable: Remove from the donor vehicle.
- Red Cable: Remove from the donor vehicle.
- Red Cable: Finally, remove from the motorcycle.

6. Check Your Battery
After jump-starting, I recommend checking the battery’s condition. This can help avoid future issues. Here’s what I do:
- Inspect for any visible damage or corrosion.
- Consider getting the battery tested if it’s been jump-started multiple times.
Wondering if you can jump-start without a battery? Check out our guide on jump-starting without a battery.
Post Jump-Start Care
After successfully jump-starting my motorcycle, I give the battery some extra attention. First, I recommend charging it for at least 30 minutes to ensure it has enough power. A good charger can significantly improve the battery’s overall health.
To maintain the battery, I follow these key steps:
- Check Connections: I inspect the battery connections for tightness. If I see any corrosion, I clean it with baking soda and water to prevent further issues.
- Monitor Performance: I pay close attention to how my motorcycle starts over the next few days. A quick, smooth start means the battery is in good shape, while sluggishness might indicate it’s time for a replacement.
- Regular Maintenance: I make it a habit to check the battery every three months. This helps me spot any signs of wear early, saving me from unexpected breakdowns later.
- Proper Storage: I store my motorcycle in a cool, dry place during the off-season. Using a trickle charger helps maintain the battery’s charge, ensuring I’m ready to ride when the weather warms up.
How to jump start motorcycle battery: Key Do’s and Don’ts
Before attempting to jump start your motorcycle battery, it’s essential to prioritize safety. Proper precautions can prevent accidents and ensure a smooth process. Whether you’re a seasoned rider or a beginner, following these do’s and don’ts will help protect you and your equipment while getting your motorcycle back on the road.
Do’s
- Wear safety goggles and gloves.
- Ensure both vehicles are off.
- Follow the jumper cable sequence.
- Keep flammable materials away.
- Check battery terminals for corrosion.
Don’ts
- Don’t touch the cables together.
- Avoid starting with faulty equipment.
- Never lean over the battery.
- Don’t smoke or use open flames.
- Avoid jump-starting a frozen battery.
Final Words:
Knowing how to jump start motorcycle battery is a valuable skill every rider should master. In my experience, following the correct steps can get you back on the road in under ten minutes.
Regular battery checks every three to six months can help prevent unexpected issues. This simple maintenance routine extends the life of your battery and ensures your motorcycle runs smoothly, keeping you safe and ready for your next ride.
