When my lawn mower won’t start, I often wonder how to jump start a lawn mower effectively. It’s frustrating, especially if you’re ready to tackle the yard work. I’ve been there—facing a dead battery right when the grass is begging for a trim! Looking for the best portable solution? Explore our recommendations in the best jump starter pack article.
Knowing why a battery might die really helps. Factors like leaving the ignition on or not using the mower for weeks can drain it. On average, a lawn mower battery lasts about 2-3 years, so understanding how to maintain and jump-start it can save you a lot of hassle!
How do I know if my lawn mower battery needs a jump start?

To determine if your lawn mower battery needs a jump start, watch for several key signs. A slow cranking of the starter motor is a primary indicator, as well as the mower failing to start after being inactive for a while.
Additionally, if you notice dim headlights or hear a clicking sound when you try to start the mower, these could also suggest that the battery is dead and requires a jump start. Regularly checking these signs can help you avoid unexpected mower failures.
Tools Needed
Before I jump-start my lawn mower, I make sure I have all the necessary tools and equipment ready. Having the right gear not only makes the process smoother but also ensures safety throughout. Here’s a quick list of what I need to get started.
- Jumper Cables: A reliable set, ideally 12 feet long, costing around $20 to $50.
- Power Source: A vehicle with a compatible battery; typically a 12V for most riding mowers.
- Safety Gear: Gloves and goggles to protect against battery acid and sparks; available for under $10.
- Battery Tester: Optional but helpful for checking the battery voltage beforehand.
- Basic Tools: A wrench or socket set may be required for accessing battery terminals.
Preparation Before Jump Starting
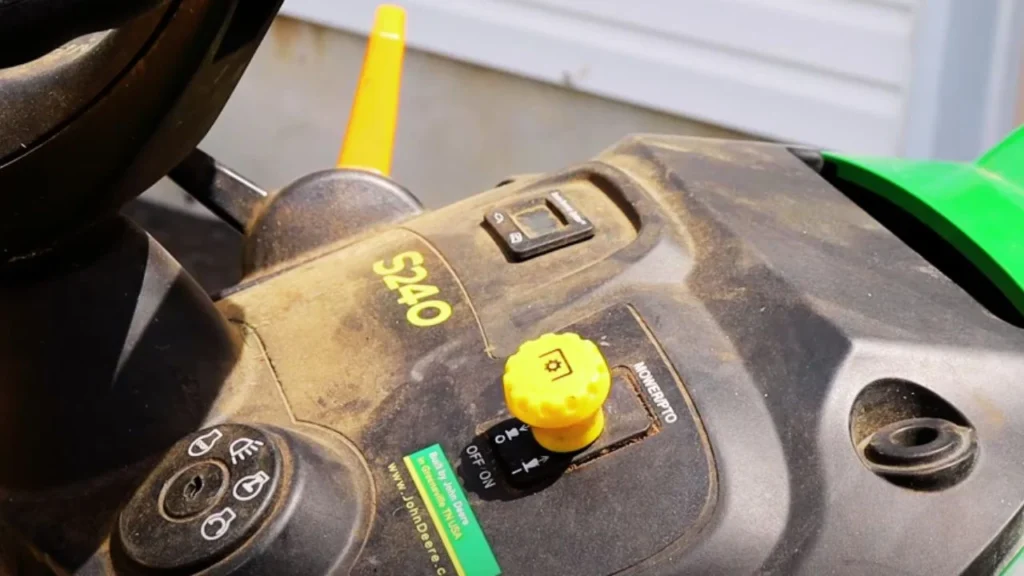
Before jumping my lawn mower, I always make sure to follow a few essential safety precautions. First, I double-check that both my mower and the power source are turned off—this can prevent potential electrical mishaps. It’s a simple step that can save a lot of trouble later.
Next, positioning is key. I park my car close enough so the jumper cables can reach, but not so close that the vehicles touch. Keeping about 1-2 feet of distance between them helps prevent any accidental bumps while I’m working.
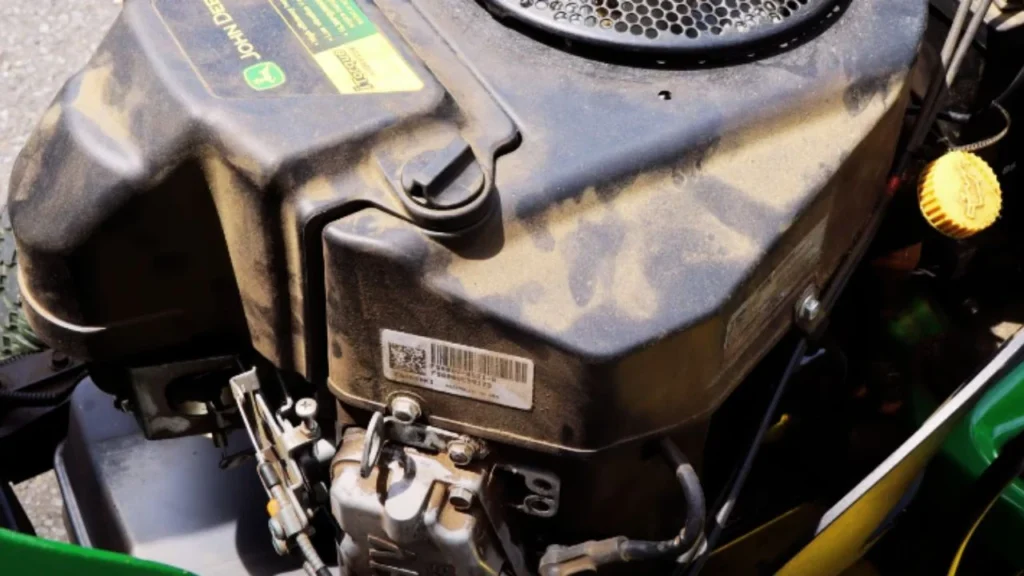
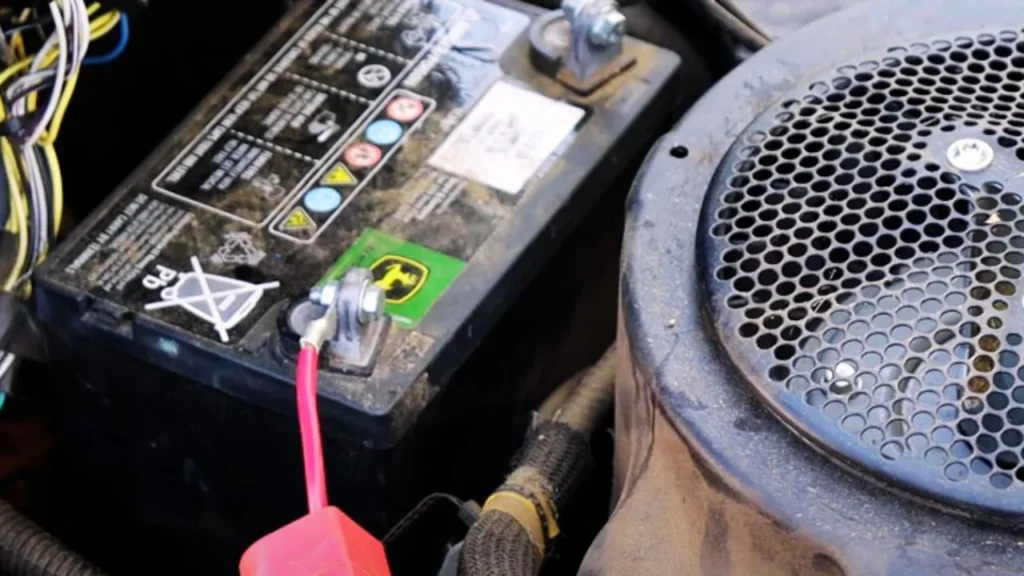
When it comes to batteries, I’ve learned to know their locations. Most lawn mower batteries are tucked away under the seat or the hood—think of it as a little hide-and-seek game! Familiarizing myself with this spot beforehand can save precious time during the jump-starting process.
Wondering what power is best for a jump starter? Get all the details on what is a good power for a jump starter to make the right choice.
Step-by-Step Guide: How to Jump Start a Lawn Mower
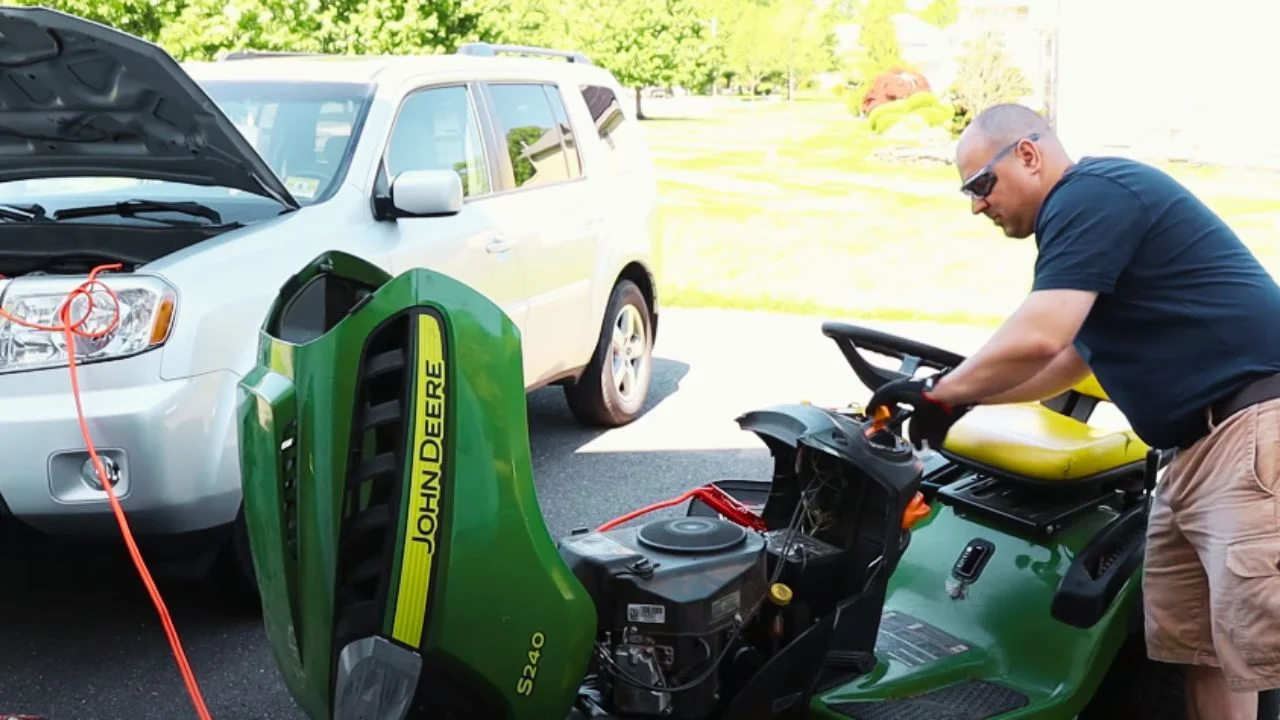
Jump-starting a lawn mower can be a straightforward task if you know the right steps. Whether your mower’s battery has died from inactivity or a simple oversight, I’m here to walk you through the process. With just a few tools and some patience, you’ll have your mower running in no time!
Step 1: Connecting Jumper Cables

First things first, I grab my jumper cables, making sure they’re in good shape. I connect the red clamp to the positive terminal of my lawn mower’s battery, then attach the other end to the positive terminal of the car battery. This setup is crucial; a solid connection means a better chance of starting the mower.
Step 2: Grounding the Connection
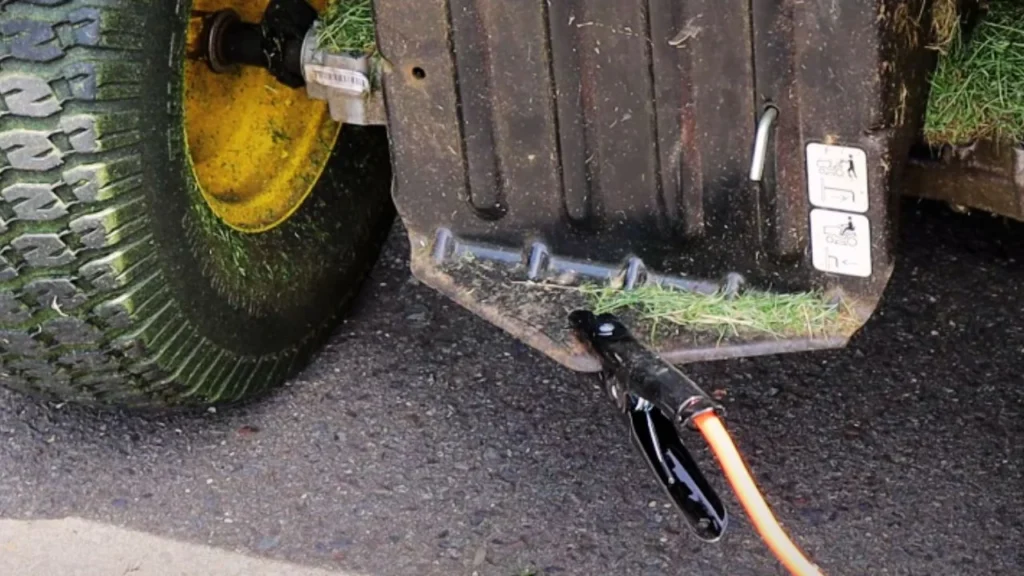
Next, I take the black clamp and connect it to the negative terminal of the car battery. Instead of attaching the other end directly to the mower’s battery, I find an unpainted metal surface on the mower itself. This helps avoid sparks and keeps everything safe while we’re working with electricity.
Step 3: Starting the Power Source
With the connections secure, I start the car engine. I usually let it run for about 2-5 minutes to ensure the lawn mower’s battery gets a good charge. This little wait can make a big difference in whether my mower fires up smoothly.
Step 4: Attempting to Start the Lawn Mower

Now comes the moment of truth! I hop onto my mower and try to start it as I normally would. If I hear the engine sputter but not fully start, I give it another minute before trying again, ensuring the battery is getting enough juice from the car.
Step 5: Disconnecting the Cables

If the mower roars to life, I’m thrilled! I carefully disconnect the jumper cables, starting with the black clamp from the mower’s metal surface. I then remove the black clamp from the car and follow up by disconnecting the red cables in reverse order.
Troubleshooting Common Issues
Every lawn mower owner knows the frustration of a stubborn engine that refuses to start. When jump-starting doesn’t do the trick, there are a few common issues I’ve learned to check first. With a little patience and the right approach, I can usually identify the problem and get my mower back in action.
Checking Battery Connections
When my lawn mower doesn’t start after a jump, it can be super frustrating. I often start by checking the battery connections to ensure they’re tight and free of corrosion. If I notice any rust or buildup, I make a paste with baking soda and water, which works wonders at cleaning the terminals.
Testing Battery Voltage
If the battery is connected properly but still doesn’t start, I take a voltmeter and check the battery voltage. A healthy lawn mower battery should read around 12.6 volts; anything below 12 volts usually means it’s time for a replacement. I’ve learned that leaving a battery in poor condition can lead to even bigger issues down the road.
Inspecting the Starter and Ignition
Sometimes, the problem might lie in the starter or the ignition system. I’ve encountered cases where a faulty spark plug prevented my mower from firing up. By replacing the spark plug or cleaning it, I’ve often solved the starting issue quickly, keeping my lawn in pristine condition.
Checking the Fuel System
When troubleshooting, it’s also good to inspect the fuel system. Clogged fuel lines can stop gas from reaching the engine, causing it to stall. If my mower has been sitting for a while, I check the fuel lines to ensure they’re clear and ready to deliver that much-needed power. Need to jump-start a diesel truck? Learn the right process with our complete tutorial on how to jump-start a diesel truck.
Wrap Up
Jump-starting my lawn mower was surprisingly easy once I grasped the process. With just a set of jumper cables and a working vehicle, I revived my mower quickly, saving precious time on yard work.
Remember to check the battery voltage, as a reading below 12 volts indicates it may need replacement. Regular maintenance, like charging the battery every month, ensures my mower runs smoothly. With these tips, I’m ready for a lush, well-manicured lawn all season long!
Need a new battery for your jump starter? Check out our guide on finding the perfect replacement battery for a jump starter.
FAQ’s
How do I maintain my lawn mower battery?
To maintain your lawn mower battery effectively, start by keeping the terminals clean and free of corrosion, which can impede performance. Regularly check the battery voltage; a healthy battery should read around 12.6 volts or higher.
If your mower is not in use for extended periods, consider using a trickle charger to keep the battery charged. Additionally, inspect and clean the battery case to prevent buildup and ensure proper ventilation. Finally, store your mower in a cool, dry place to prolong battery life.
Are there any risks involved in jump starting a lawn mower?
Jump-starting a lawn mower involves several risks. One major concern is the potential for electrical shock, particularly if the jumper cables are connected incorrectly. Additionally, using a 12V car battery on a 6V mower can damage the mower’s electrical system.
There’s also a risk of sparks if the clamps touch each other or the mower’s metal parts, which can create a fire hazard, especially near flammable materials. To minimize these risks, it’s crucial to wear protective gear, ensure secure connections.
How long should I let the car run before trying to start the lawn mower?
Let the car run for about 3 to 5 minutes before attempting to start the lawn mower. This duration allows the car’s battery to transfer sufficient charge to the mower’s battery.
The time may vary slightly depending on the condition of the mower’s battery; if it’s significantly drained, you might want to extend the time to ensure adequate power transfer. After this period, try starting the lawn mower as you normally would.
If it doesn’t start, allow another minute or two before trying again to give the battery a bit more time to charge.
Can extreme weather conditions affect my lawn mower battery performance?
Extreme weather can significantly impact lawn mower battery performance. Cold temperatures may cause batteries to lose charge quickly, while excessive heat can lead to overheating and reduced lifespan. Additionally, high humidity can result in corrosion at terminals, affecting connections. Regular maintenance and proper storage help mitigate these effects.