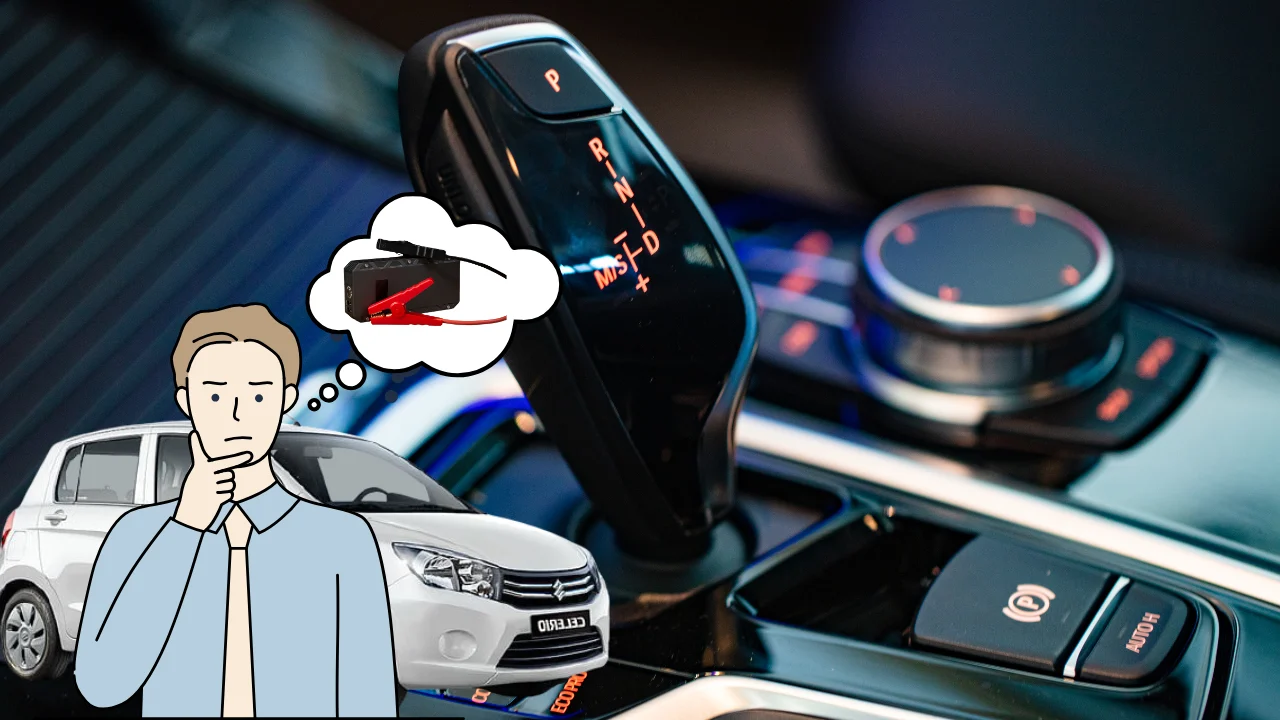
When you’re dealing with a dead battery, knowing how to jump start a automatic car can save you a lot of hassle. With just a set of jumper cables and a working vehicle nearby, you can typically get your car up and running again. In fact, about 1 in 4 car breakdowns stem from battery issues. Jumpstart efficiently with our article, How to Jumpstart a Starter with Jumper Cables.
Jump-starting an automatic car may seem daunting, but it’s quite straightforward. This process usually takes only 5-10 minutes to complete. Let’s walk through this step-by-step guide to ensure you’re prepared for any battery emergency!
Can I use a hybrid or electric vehicle to jump-start my car?
Using a hybrid or electric vehicle to jump-start another car is generally not recommended due to potential risks. Unlike traditional gas-powered vehicles, hybrids and EVs have complex electrical systems designed for specific voltage levels, which can be sensitive to sudden power transfers.
Attempting to jump-start with a hybrid or EV may strain or damage the high-voltage systems, batteries, and alternators in either vehicle. While some hybrids offer auxiliary 12V batteries, it’s still safer to use a traditional vehicle or a portable jump starter. When in doubt, consult your vehicle’s manual or seek professional assistance to avoid costly repairs.
Materials Required
Before we get started, let’s gather everything we’ll need. Having the right materials ensures a smoother, safer process, making it easy to jump-start the car effectively. Even though it may seem simple, each item serves a critical purpose in the jump-start process. Get self-jump starting tips in our article, How to Jump Start a Car by Yourself – Complete Guide.

Taking these steps can prevent common issues, like loose connections or electrical shorts. Whether you’re using a second car or a portable jump starter, having everything on hand will make the task quicker and more manageable.
Materials Needed:
- Jumper Cables: A set at least 10 feet long to ensure easy reach between vehicles.
- Working Battery Source: Another car or a portable jump starter with a 12-volt output.
- Safety Gloves: A basic pair (around $5) to protect hands from battery corrosion.
- Safety Glasses (Optional): Extra protection in case of battery sparks.
- User Manual: Helpful for locating battery terminals and any special instructions specific to your vehicle model.
Initial Preparation Before Jump Start
When prepping to jump-start, start by turning off all electronics in both vehicles. This step is essential for safety and prevents electrical interference. Make sure both cars are in Park (P) and have their parking brakes on to avoid any rolling.
After that, pop the hoods of both vehicles. Most batteries are located in the engine bay, but in some models, they might be in the trunk. Always check your owner’s manual if you’re unsure—some manuals even include helpful diagrams.
Now, locate the positive and negative terminals on both batteries. The positive terminal usually has a red cover and a plus sign (+), while the negative terminal is often marked with a minus sign (-). Proper identification is crucial to avoid reverse polarity, which can lead to battery or system damage.
Step-by-Step Guide: How to Jump Start a Automatic Car
Before you start, let’s go over a few safety essentials. Incorrect connections or short circuits can harm your car’s electrical system, so handle each cable carefully. Always remember: stay clear of metal surfaces when attaching cables, and keep all metal clamps from touching one another.
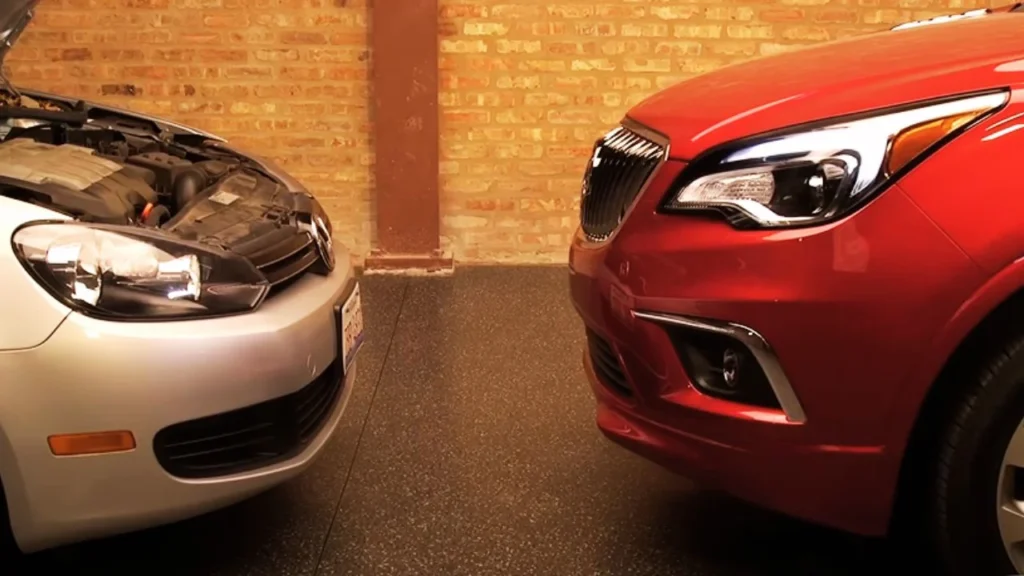
Step 1: Position the Cars
Place the car with the dead battery close to the working car but make sure they don’t touch. A distance of about 18 inches should do the trick to keep cables manageable yet safe.
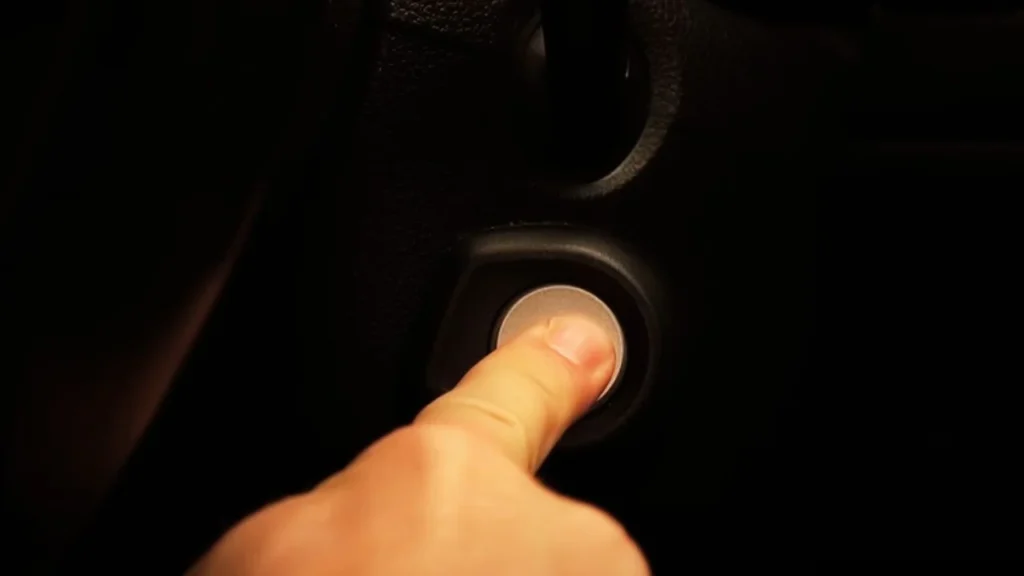
Step 2: Turn Off Electronics
Switch off all electronics in both cars, like lights and radios, to avoid power surges. This helps ensure all power goes directly to the jump-start, lowering the chance of electrical damage.
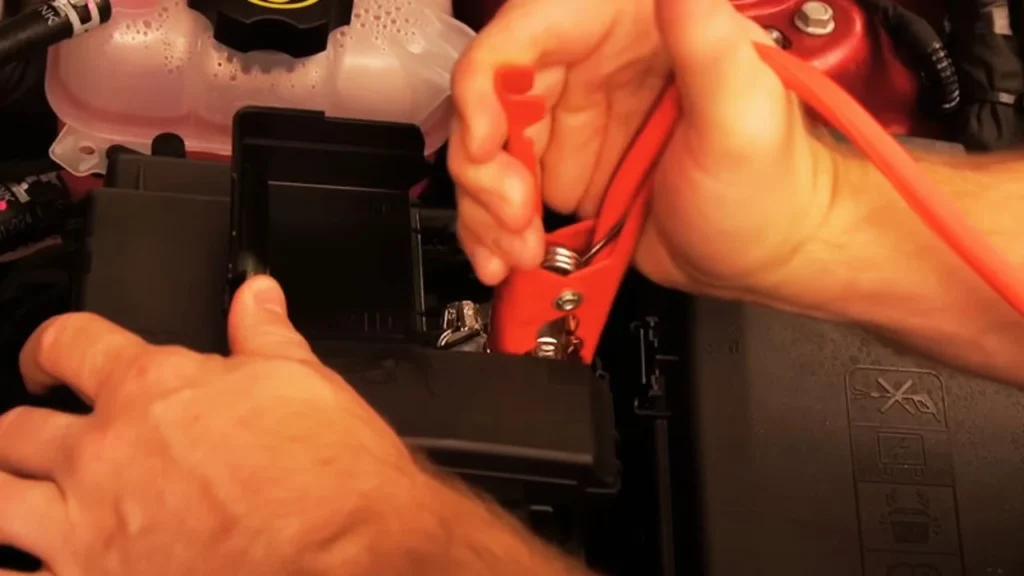
Step 3: Attach the Positive Cable to the Dead Battery
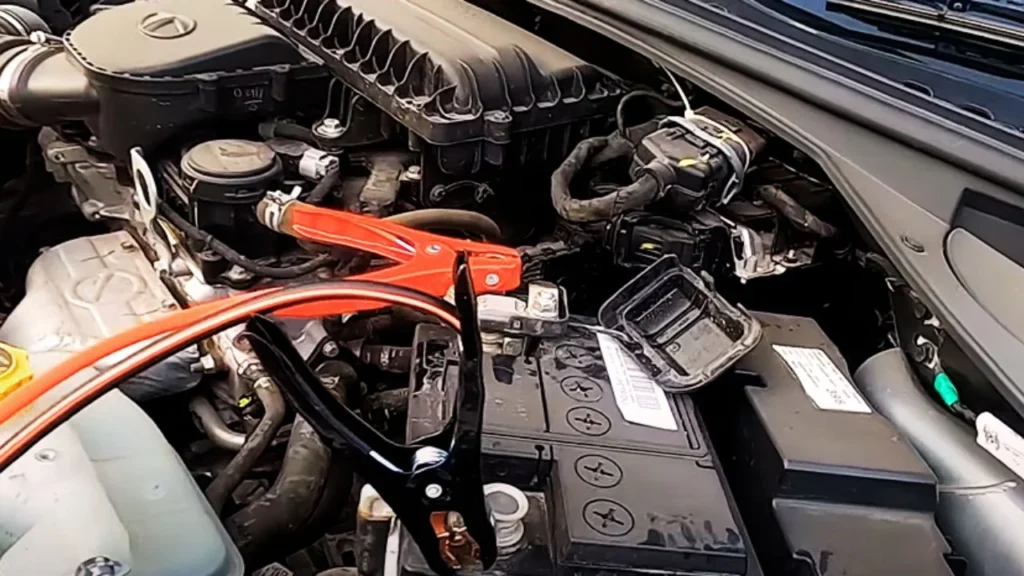
Identify the positive terminal (often marked with a red cap and a + symbol). Attach the red cable clamp securely to this terminal on the dead battery to start the energy flow.
Step 4: Connect the Positive Cable to the Working Battery
Next, take the other end of the red clamp and attach it to the positive terminal on the working battery. Be sure the connection is tight and secure for consistent current flow.

Step 5: Attach the Negative Cable to the Working Battery
Now, grab the black cable clamp and attach it to the negative terminal (marked with a –) on the working battery. Avoid leaning over the battery during this step to prevent exposure to any potential sparks.
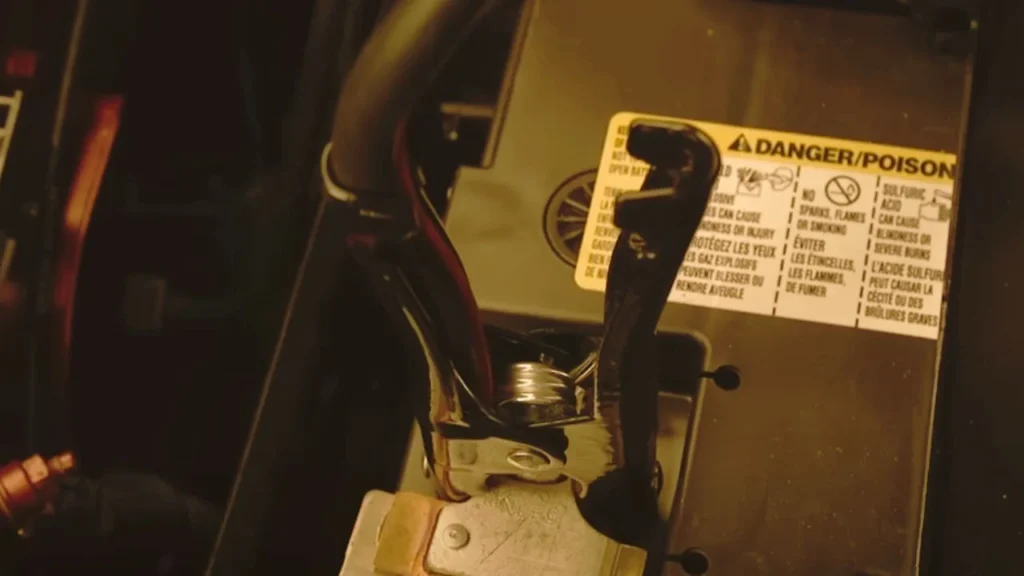
Step 6: Ground the Negative Cable
For safety, attach the remaining black clamp to an unpainted metal surface on the dead car. Look for a bolt or bracket, ideally a few inches away from the battery, which acts as a grounding point.
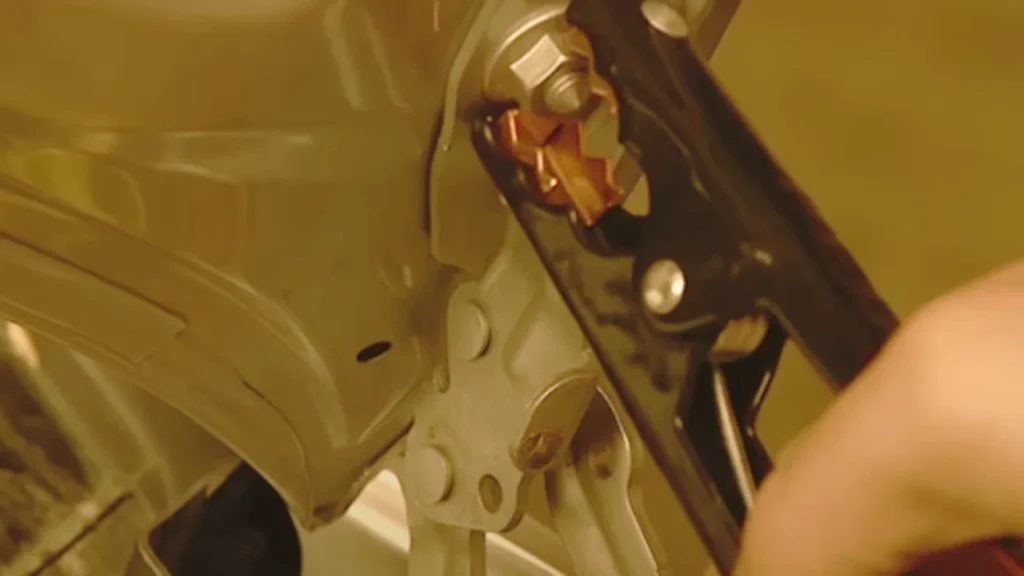
Step 7: Start the Working Car
Start the engine of the working car first and let it run for about 5-10 minutes. This gives the dead battery time to build a small charge, which will help when it’s time to crank the engine.
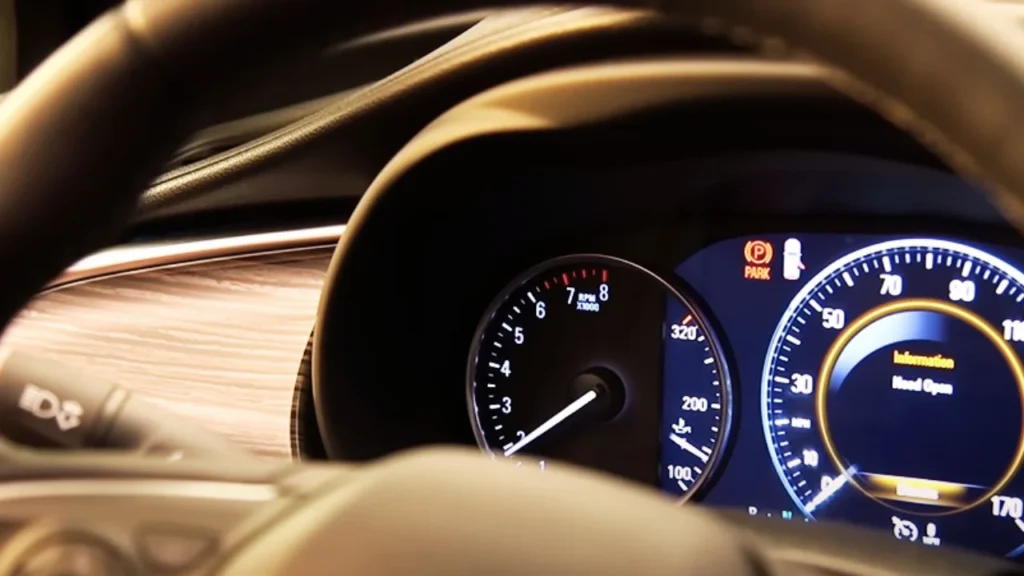
Step 8: Start the Dead Car
Now, try starting the car with the dead battery. If it doesn’t start immediately, give it a minute and try again. Don’t crank the engine for more than 10 seconds to protect the starter.
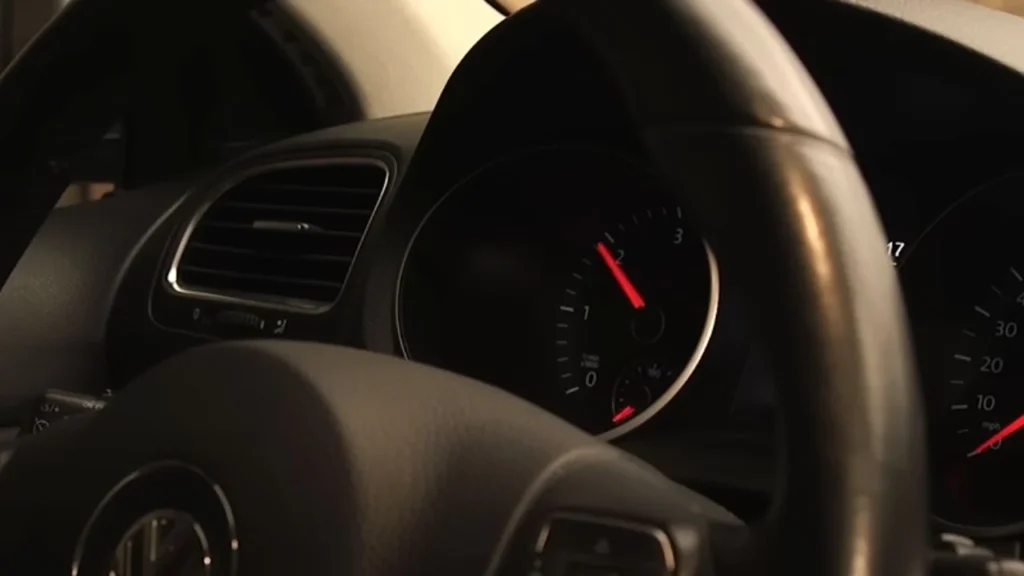
Step 9: Disconnect the Cables in Reverse Order
Once the dead car starts, remove the cables in reverse order: first the black clamp from the dead car, then the black clamp from the working car, and so on. Avoid touching the clamps to any metal parts.
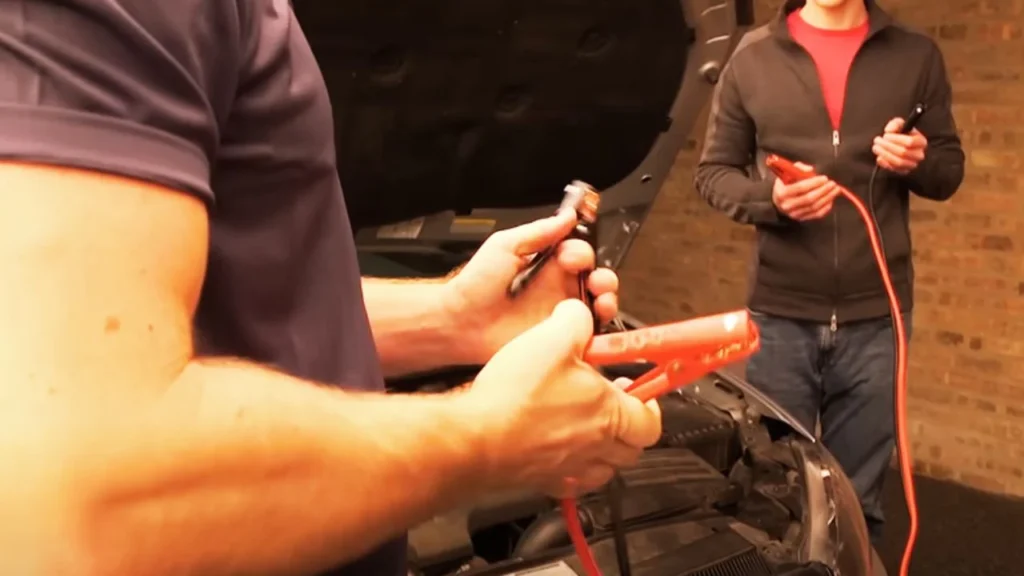
Step 10: Let the Jump-Started Car Run
Let the revived car run for 15-20 minutes to ensure the alternator can recharge the battery. This step helps prevent needing another jump start right after disconnecting. Explore emergency options in our article, 6 Best Truck Jump Starter for Emergencies.
After Starting the Dead Car
Once the car with the dead battery starts, I like to keep it running for at least 15 to 20 minutes. This is essential because it gives the alternator time to recharge the battery. If I turn off the engine too soon, there’s a higher risk of the car not starting again, especially if the battery is still low.
I usually recommend a short drive after jump-starting. A 20-minute drive can be incredibly helpful as it allows the battery to regain power gradually. A mix of city and highway driving works best because it keeps the engine running at varying speeds, optimizing the alternator’s work.
Also, remember that newer batteries charge faster. If your battery is under 3 years old, it should recharge relatively quickly with a good alternator. However, if it’s older than that, you might need to give it extra time or consider a full battery test to be on the safe side. Learn the steps in our article, How to Jump Start a 6 Volt Battery.
Troubleshooting Common Issues
Double-Check Cable Connections
If the jump-start didn’t work right away, don’t panic—sometimes, the issue needs a closer look. First, double-check all connections, ensuring each clamp is securely attached. Even a slight misalignment can prevent a good connection and stop the power flow.
Measure the Battery’s Voltage
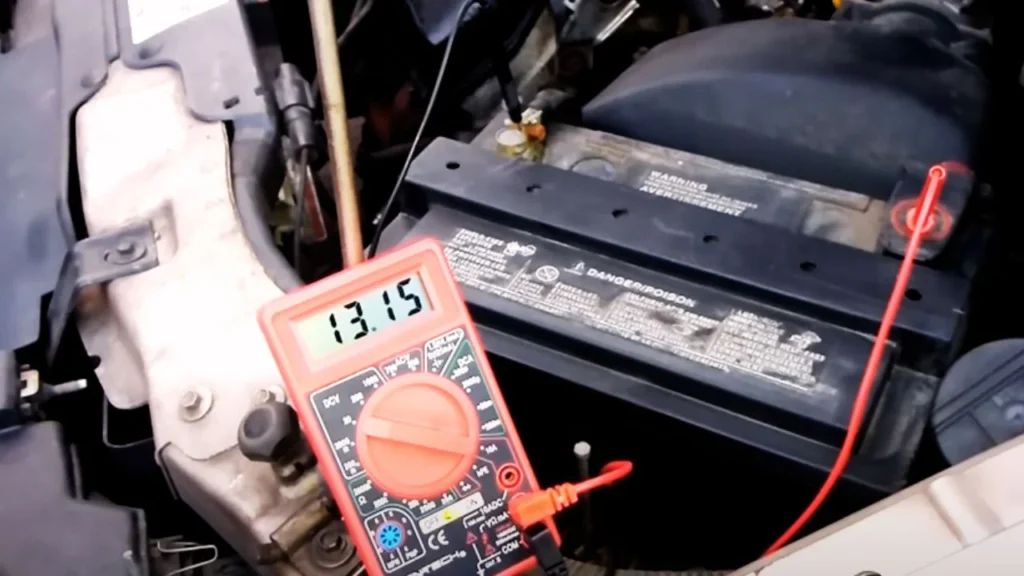
Another thing to check is the battery’s voltage. A fully charged car battery should read around 12.6 volts, while a battery below 12 volts is likely discharged. Grab a voltmeter if you have one, as it’s the quickest way to spot a weak battery that might be causing the issue.
Clean Corroded Battery Terminals
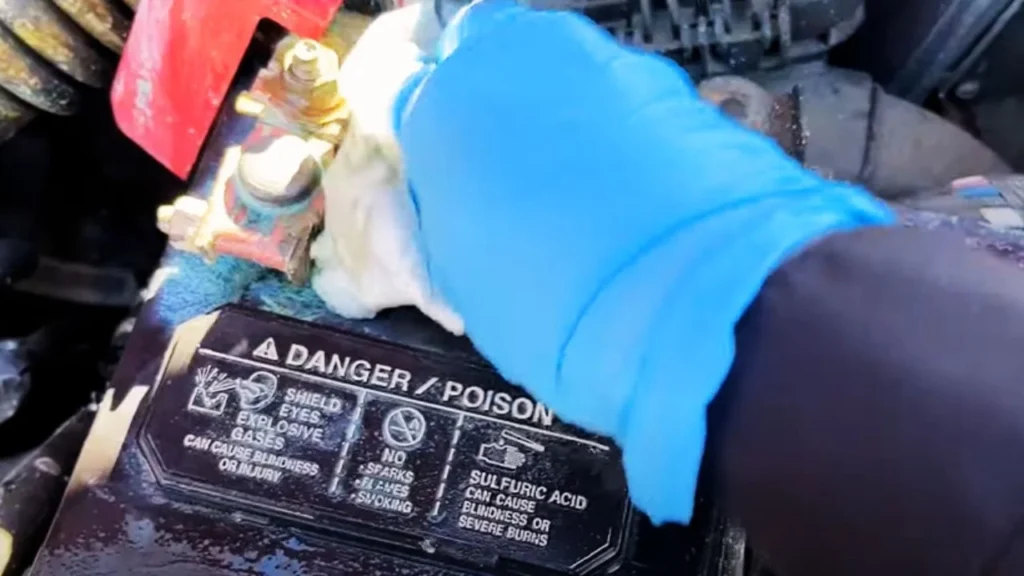
Sometimes, a failed jump-start is due to corroded battery terminals. A little corrosion, which appears as white or green powder, can block the flow of electricity. If you see any, clean it off with a mix of baking soda and water. Just a little maintenance here can make all the difference.
Listen for Clicking Sounds
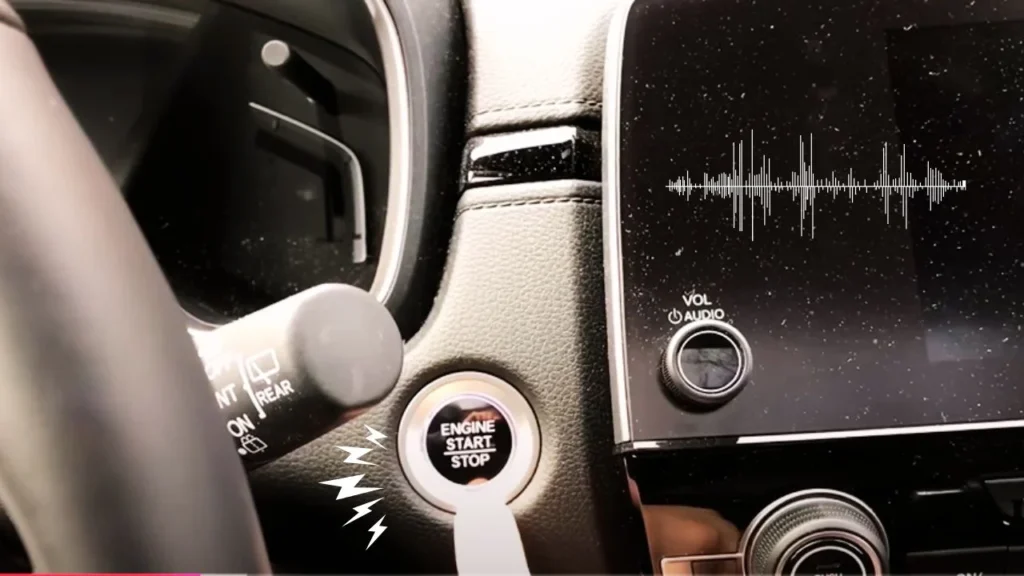
You might also hear a rapid clicking sound when trying to start your car—that’s a classic sign of a weak battery. In this case, give it another minute with the donor car running. This extra charge boost often brings the dead battery back to life.
Call for Professional Help
If all else fails and the car still won’t start, it could be a bigger issue with the alternator or starter motor. These components can cause starting problems if they’re worn out. At this point, a quick call to a mechanic might save you more hassle down the road.
Safety Guide for Jump-Starting an Automatic Car
- Use the Right Equipment: Ensure you have high-quality jumper cables without damage or corrosion and a safe, fully charged donor vehicle or jump starter. Avoid using hybrid or electric vehicles for jump-starting, as their electrical systems differ.
- Wear Protective Gear: Always wear safety gloves and goggles to protect against accidental sparks or contact with battery acid.
- Proper Cable Connection: Connect jumper cables carefully in the recommended sequence to prevent short circuits or sparks that could ignite battery gases.
- Avoid Touching Metal Parts: Keep the clamps from touching each other or any metal part of the car during the connection process to reduce spark risk.
- Check Battery Health: If the battery is old, jump-starting may only be a temporary fix. Consider replacing a weak battery to avoid future issues.
- Stay Clear of Moving Parts: Ensure cables are away from any moving engine parts, and avoid revving the donor vehicle excessively to prevent overheating.
Final Words
Now that you know how to jump start an automatic car, you’re set for any battery mishaps on the road. Remember, keeping a jump starter and cables in your car can save you hours and get you back on track quickly.
With just 15-20 minutes of idle time after a jump start, your car’s battery can recharge enough to keep you moving! This simple skill ensures you’re prepared for any roadside surprises. Discover affordable jump starters in our article, Best Jump Starter Under 100.
