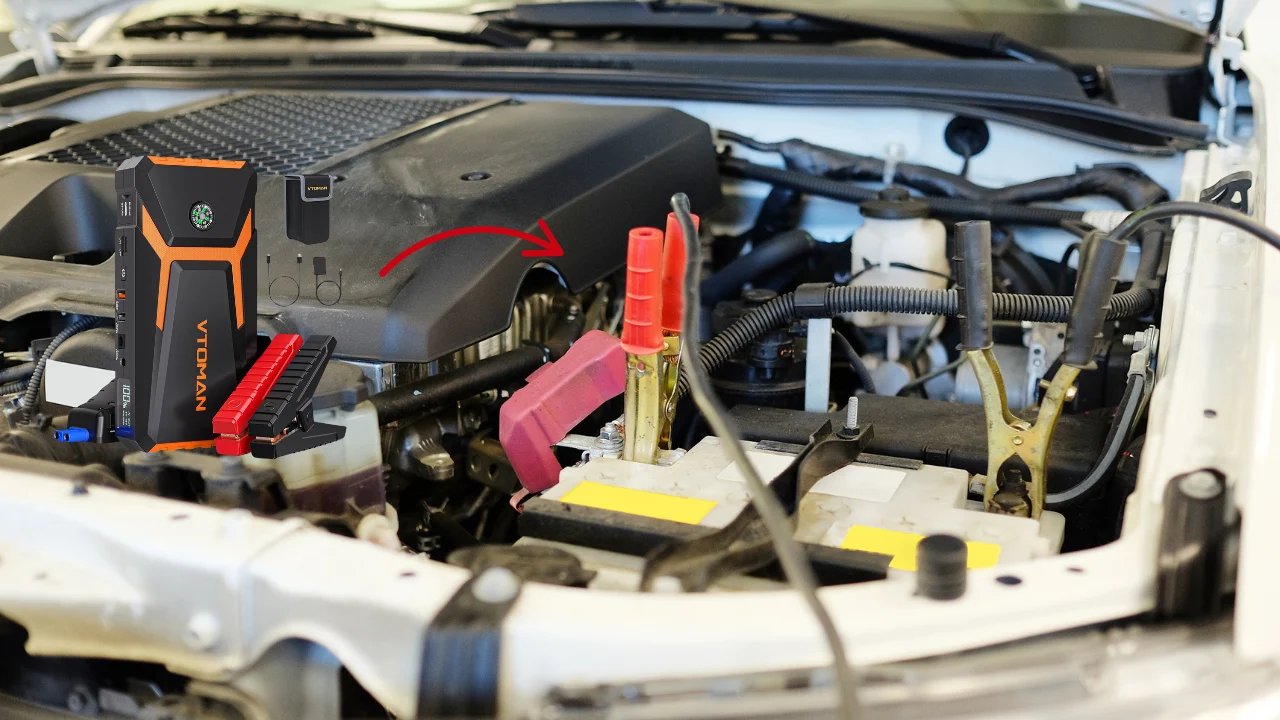
Jump-starting a vehicle can feel daunting if you’re not sure exactly how long to leave cars connected when jump starting. Standing by my car with the jumper cables hooked up, I’ve been there, wondering, “Is it time to disconnect yet?”
Here’s what I’ve learned:
- Disconnect too early: Battery won’t charge enough.
- Leave connected too long: Risk of overheating.
- Perfect timing: Key for a successful jump-start.
When jump-starting, keep the cars connected for 5-10 minutes after the engine starts to allow the battery to recharge. Check the cables regularly and disconnect only when it’s safe. Afterwards, let the car run for at least 15 minutes to recharge the battery fully.
In this guide, I’ll show you exactly how long to leave the cars connected, so you’ll be confident the next time your battery needs a boost!
Must-Have Items for a Successful Jump-Start
Before diving into the actual jump-starting process, let’s ensure you’ve got the essentials ready. Don’t worry, you only need a few items, but they’re crucial for success. If you’re having trouble with your jump starter, it might need a reset. For step-by-step instructions, visit our guide on how to reset a jump starter.
Here’s what you’ll need:
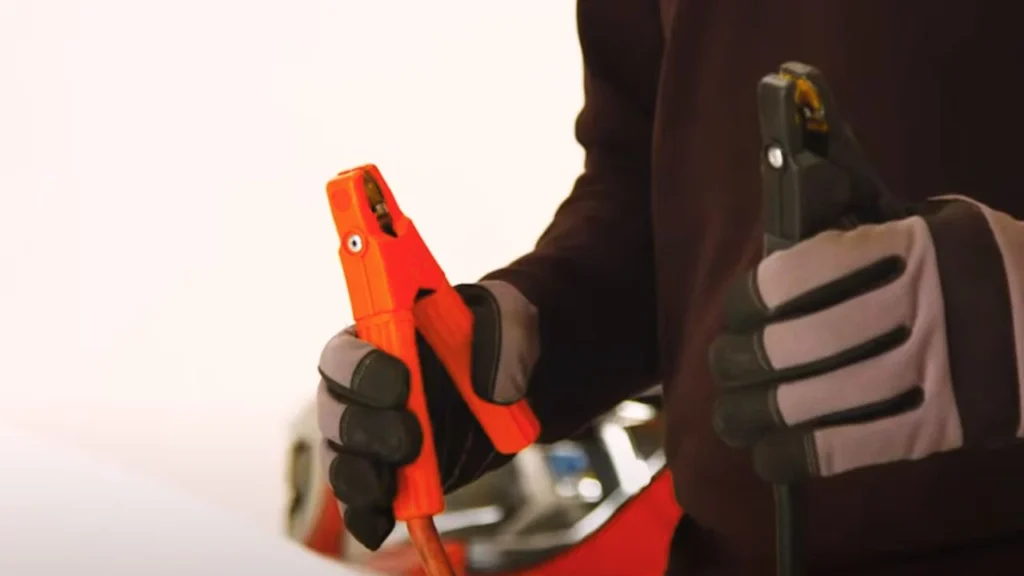
- Jumper Cables: These are non-negotiable. A good set of cables is your best friend when it comes to jump-starting. I always keep a pair in my trunk for emergencies.
- Another Vehicle with a Charged Battery: You’ll need a second car with a fully charged battery. It could be a friend’s car or even a helpful passerby’s vehicle. Just make sure the cars can be parked close enough for the jumper cables to reach.
- Optional: Portable Jump Starter: If you’re the type who likes to be prepared for anything (which I highly recommend), a portable jump starter can save the day. With this device, you won’t even need another car. It’s like having a backup battery in your trunk at all times.
Pre-Jump Start Checklist
Before you jump into the actual jump-starting process (pun intended), there are a few things you must check off the list to ensure everything goes smoothly. Trust me, this will save you a headache later.
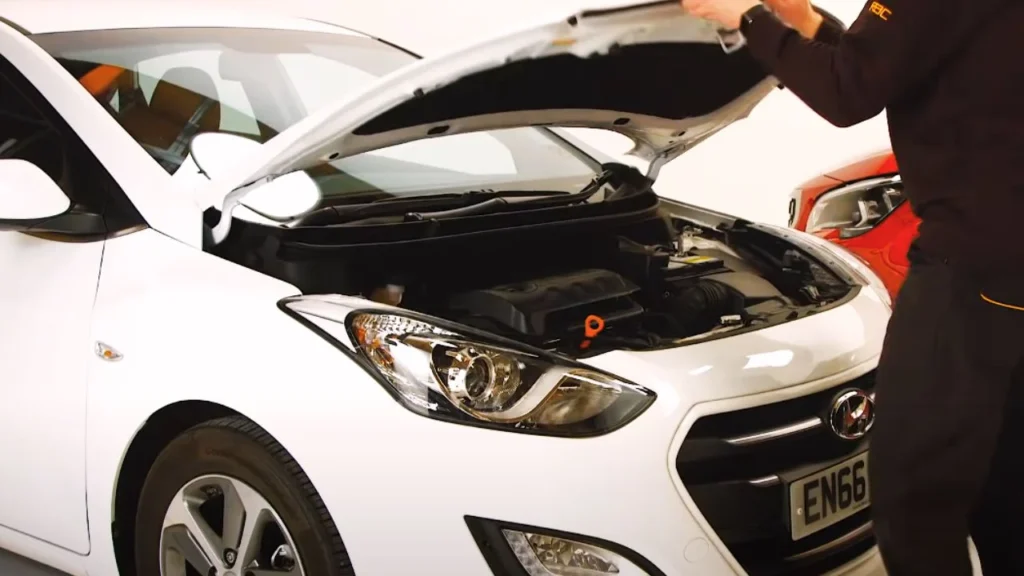
- Make sure both cars are completely off:
Ensure both vehicles are off and the keys are out of the ignition. Double-check that both cars are in the park (or neutral for manual transmissions) and that the parking brake is set.
- Inspect the battery:
Check for damage like leaks or cracks. Don’t proceed if you spot any. Clean terminals with a wire brush or baking soda mixture if corrupted.
- Position the cars properly:
Park the cars close enough for the cables to reach, but not touching. Leave room to move around between the cars.
In need of the best jump starter pack? Browse our review of the best jump starter packs on the market to make an informed purchase.
Step-by-Step Guide to Jump-Starting
Let’s get to the heart of the process—jump-starting your car! It’s pretty straightforward once you’ve got the hang of it, but it’s important to follow the steps carefully to avoid any issues.

Step 1: Position the Cars Properly
First, park the car with the good battery close enough to the car with the dead battery, but make sure they’re not touching. I usually position them nose to nose, just to make it easier to reach with the jumper cables.
Step 2: Turn Everything Off
Before connecting anything, make sure both cars are completely off. This includes headlights, radios, and anything else that draws power. You don’t want any surprises while working with the cables!
Step 3: Attach the Jumper Cables
Now, here’s where you need to be careful. Grab your jumper cables, and follow this order for connecting them:
- First, connect the red clamp to the positive terminal on the dead battery.
- Next, attach the other red clamp to the positive terminal on the working battery.
- Now, connect the black clamp to the negative terminal on the working battery.
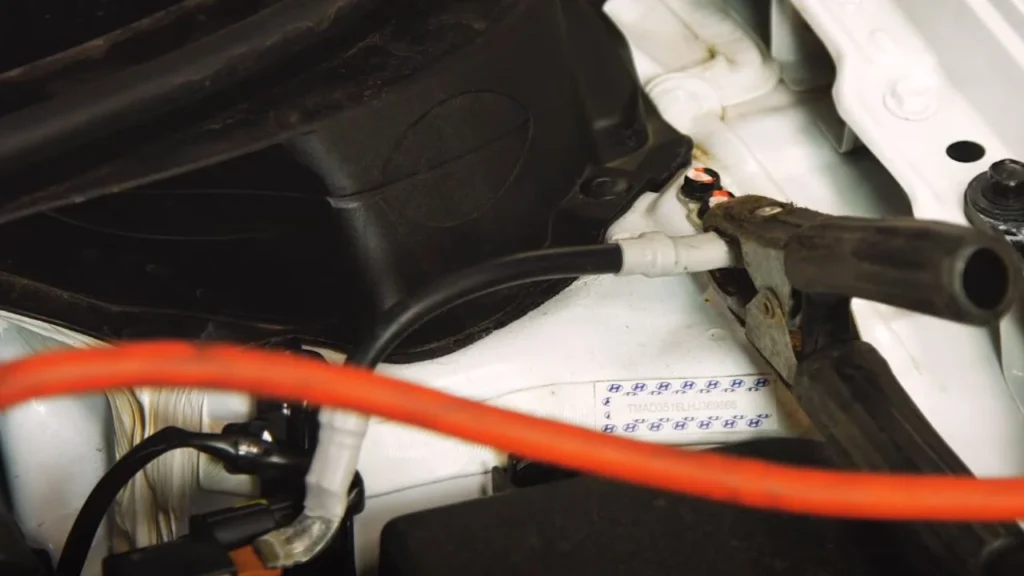
- Finally, attach the last black clamp to an unpainted metal surface on the car with the dead battery. I usually clip it onto a bolt or part of the engine block.
Pro tip: Never connect the black clamp directly to the dead battery’s negative terminal! It can cause sparks, which is never good around a battery.
Step 4: Start the Working Car
Now that everything’s connected, go ahead and start the car with a good battery. Let it run for a minute or two. This gives the dead battery a chance to build up a little charge.
Step 5: Start the Dead Car
After a couple of minutes, try starting the car with the dead battery. If all goes well, it should start right up! If it doesn’t, wait another minute and try again. Sometimes, a dead battery needs a little extra time.
Looking for a reliable lithium-ion jump starter? Check out our recommendations for the top 6 lithium-ion jump starters to ensure you’re prepared for any battery issue.
How Long to Leave Cars Connected When Jump Starting
When it comes to jump-starting, timing is everything. You don’t want to disconnect too early, or you might be right back where you started. Here’s a simple breakdown to make it easy:
- After connecting the cables, Let the working car run for about 5 minutes. This allows the alternator to send enough charge to the dead battery.
- Try starting the dead car: After those 5 minutes, attempt to start the car with the dead battery. If it starts, you’re on the right track!
- Leave the cars connected: Don’t disconnect the cables right away! Keep both cars connected and running for an additional 5 to 10 minutes. This helps ensure the dead battery gets a bit more charged so it doesn’t stall as soon as you disconnect.
- If the dead car doesn’t start, Be patient! Wait another 3-5 minutes and try again. Some batteries take a little extra time, especially if completely drained.
Leave the cars connected for about 10 to 15 minutes. This gives the dead battery enough boost to get back on the road. Hybrid car owners might wonder whether their vehicles can assist in jump-starting other cars. Find out if it’s possible in our detailed guide on whether a hybrid can jump-start a normal car.
When to Disconnect the Cables
After knowing How Long to Leave Cars Connected When Jump Starting, once your car’s engine is up and running, you might feel an immediate relief—and that’s great! But don’t rush just yet. There’s a specific way to disconnect those jumper cables safely, and I’ll walk you through it.
- Start by removing the black (negative) cable from the car with the dead battery. Unhooking the negative cables first minimizes the chance of sparks.
- Then, remove the black cable from the car with the good battery.
- Next, remove the red (positive) cable from the car with the dead battery, followed by the red cable from the good battery.
- Once all cables are disconnected, carefully wrap them up and store them in your trunk for future use.
Dealing with a 6-volt battery? Jump-starting procedures can differ from standard car batteries. Learn the proper steps in our article on how to jump-start a 6-volt battery.
What to Do After the Jump-Start
Alright, so your car’s finally up and running again—awesome! But don’t disconnect those cables and drive off just yet. There are a couple more steps to ensure your battery doesn’t leave you stranded again.
Once the jump-start is successful, you’ll want to leave your car running for at least 10-15 minutes. I usually recommend going for a little drive around the block or, even better, hitting the road for 15-30 minutes. This gives the alternator enough time to charge up your battery properly. Think of it like giving your battery a full meal instead of just a snack.
Another thing to remember: after driving a bit and parking the car, keep an eye on how it starts the next few times. If it struggles again, the issue might be more than just a drained battery. In that case, you might need to check if the battery needs replacement or if something else could be draining the charge—like a faulty alternator or a parasitic draw. But let’s not get ahead of ourselves!
Avoid These Common Jump-Start Mistakes
Let me share a few common mistakes people make when jump-starting. Trust me, avoiding these can save you a lot of frustration!
1. Not Connecting the Cables Properly
One of the biggest mistakes is mixing up the cables. Always double-check: red goes to positive, black to negative. A mix-up can damage your car and pose a safety risk.
2. Disconnecting the Cables Too Soon
Patience is key! After the car starts, leave the cables connected for a few minutes. If you disconnect too soon, your battery might not have enough charge to stay running.
3. Trying to Jump-Start a Damaged Battery
If your battery is cracked or leaking, don’t even think about jump-starting it. It’s dangerous, and the battery likely needs replacing, not reviving.
4. Forgetting to Turn Off Electronics
Before you start the jump, make sure things like the radio, AC, and lights are off. These can drain power and make the jump-start take longer or fail.
5. Not Letting the Car Run After Jump-Start
Once the engine starts, don’t turn it off right away. Let it run for at least 10 minutes or take a short drive to help recharge the battery properly.
Safety Guide: How Long to Leave Cars Connected When Jump Starting
Jump-starting your car is not just about getting the engine running—timing and safety are key. Here’s a quick guide on how long to leave the vehicles connected and the essential do’s and don’ts to follow during the process.
Do’s:
- Turn off all electronics before jumping.
- Use a proper grounding point for black cable.
- Start with a fully charged donor battery.
- Rev donor engine lightly if necessary.
- Give the battery a final inspection post-jump.
Don’ts:
- Smoke near the battery while jumping.
- Use frayed or damaged jumper cables.
- Jump-start in the rain or wet conditions.
- Over-rev the donor vehicle.
- Disconnect the cables while the engines are running.
Final Words:
Hopefully, now you know how long to leave cars connected when jump starting. Leave the cars connected for 5-10 minutes after the engine recharges the battery. Be sure to monitor the cables and disconnect only when it’s safe. Let the car run for at least 15 minutes afterwards to ensure the battery is fully charged.
