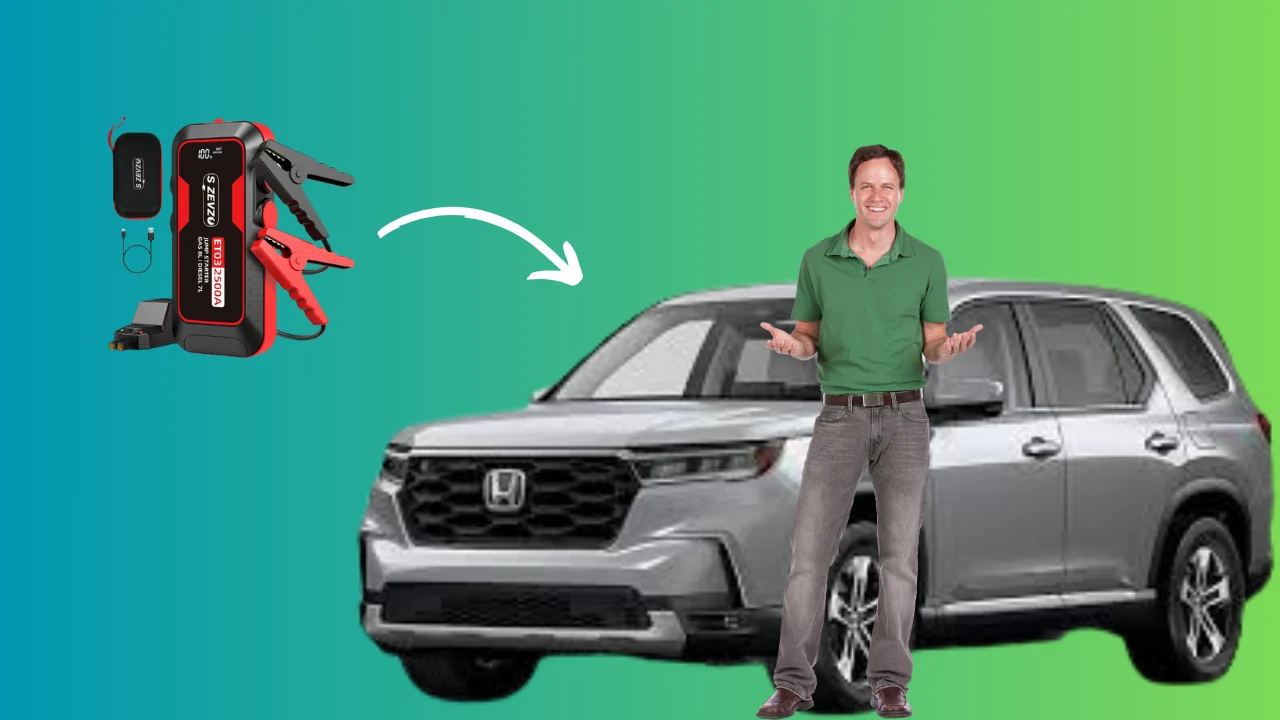
Knowing how to jump start a Honda Pilot can be a lifesaver, especially when you’re stuck with a dead battery. Over 100,000 drivers face battery issues annually, showing just how common this problem is. Understanding the process ensures you’re prepared when it matters most. Explore whether a hybrid can jump start a normal car and get the facts surrounding this topic.
I’ve been there – facing a cold morning with an unresponsive car, feeling stranded. Jump-starting your Honda Pilot isn’t just about getting it to start; it’s about saving time and stress. Let’s dive into why this skill is essential and how it keeps you moving.
How can I avoid battery issues in my Honda Pilot in the future?
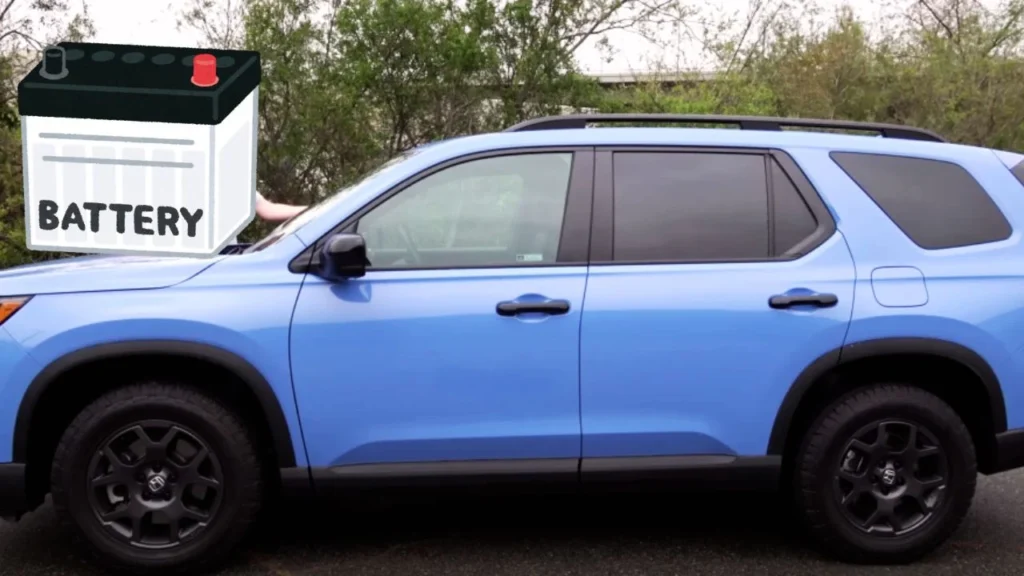
To avoid battery issues in your Honda Pilot, regularly inspect the battery terminals for corrosion and clean them as needed. Ensure that your battery is securely fastened to avoid vibrations that could damage it.
Periodically check the battery’s charge and replace it every 3-5 years to prevent unexpected failures. Avoid leaving lights, electronics, or accessories on when the engine is off to conserve battery life.
During extreme temperatures, park in sheltered areas to minimize battery strain. Routine maintenance and professional inspections can also help detect potential battery issues before they become serious problems. Follow our complete guide on how to jump start a car by yourself for easy step-by-step instructions.
Material Needed
Finding yourself with a dead battery can be stressful, especially if you’re unsure how to jump-start your Honda Pilot. Knowing the essentials and having the right tools on hand makes a world of difference. Let’s break down what you need to get started smoothly.
- Jumper cables (10-12 feet long) for flexible positioning.
- A second vehicle with a fully charged 12-volt battery or a portable jump starter.
- Safety gear: gloves and safety glasses to protect against sparks and battery acid.
- Emergency car kit to keep all essential tools organized and ready.
- Portable jump starter with at least 800 peak amps for reliable self-jump-starts.
Step-by-Step Guide
Jump-starting your Honda Pilot can seem daunting, but with the right approach, it’s straightforward. I’ll walk you through each step to ensure a safe and successful jump-start. Let’s get your vehicle running smoothly again!
Step 1: Prepare the Vehicles
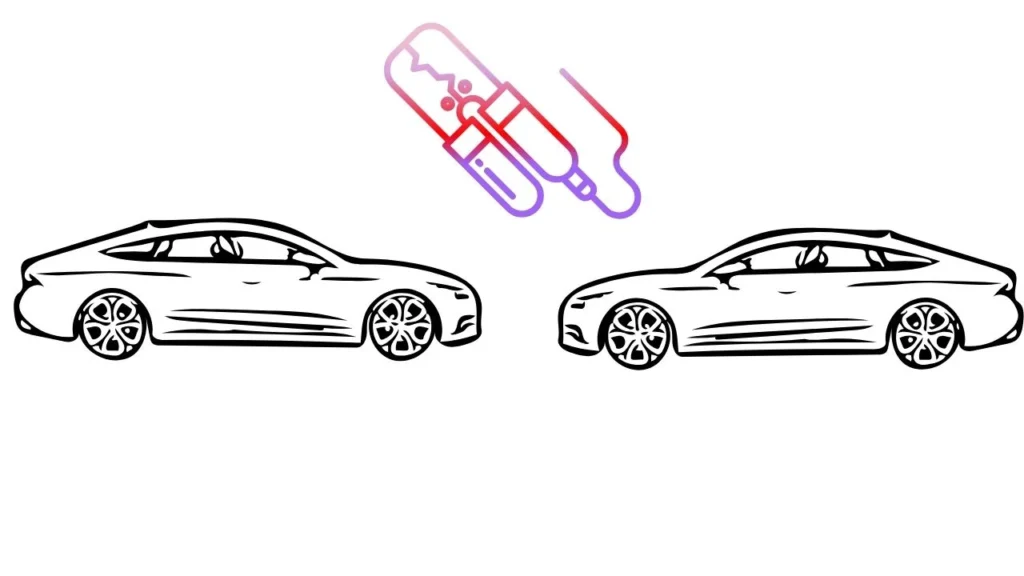
First, park both vehicles close enough to connect the jumper cables but ensure they don’t touch. Make sure the Honda Pilot and the donor vehicle are turned off, and set their parking brakes. Around 1 in 3 drivers overlook this step, which is crucial for safety.
Step 2: Locate the Battery and Terminals
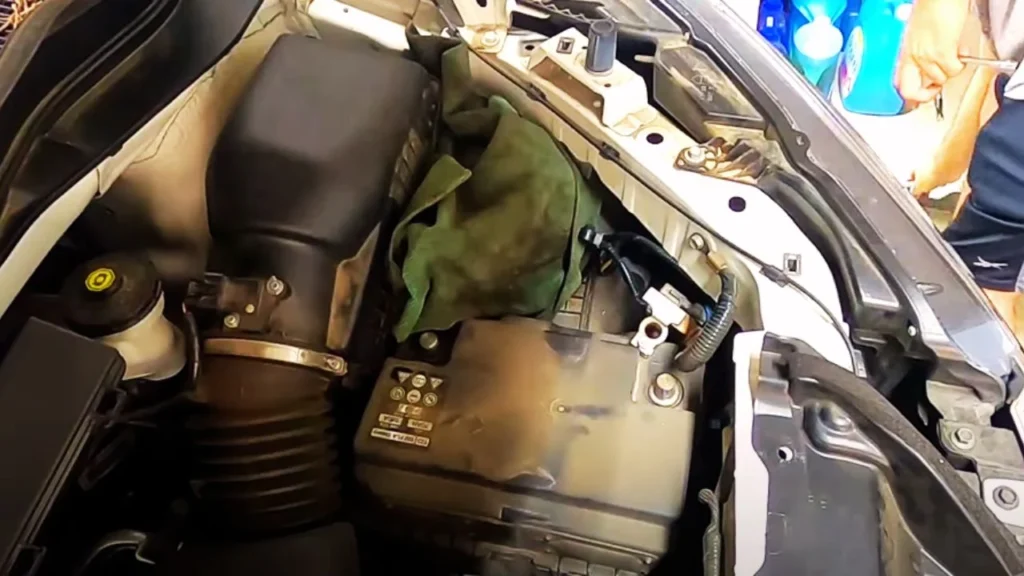
Pop the hood of your Honda Pilot and find the battery. Look for the positive terminal marked with a red cover and a “+” sign and the negative one with a “-.” About 75% of modern vehicles have batteries located at the front.
Step 3: Connect the Jumper Cables
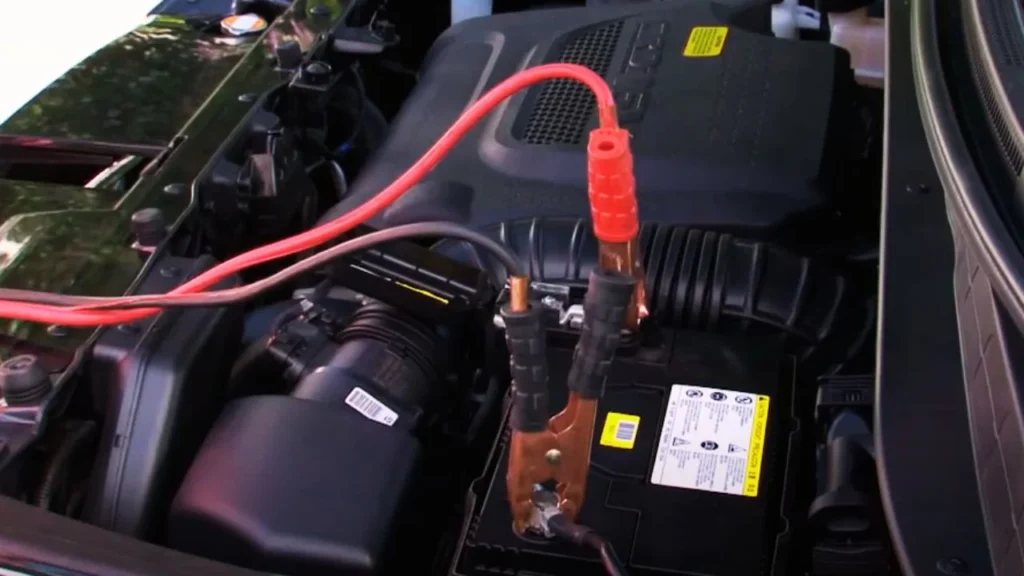
Start by attaching one end of the red (positive) cable to the dead battery’s positive terminal. Next, connect the other end to the positive terminal of the donor battery. Now, attach the black (negative) cable to the donor’s negative terminal. The last connection should go to an unpainted metal surface on the Honda Pilot, roughly 12-18 inches away from the battery.
Step 4: Start the Donor Vehicle
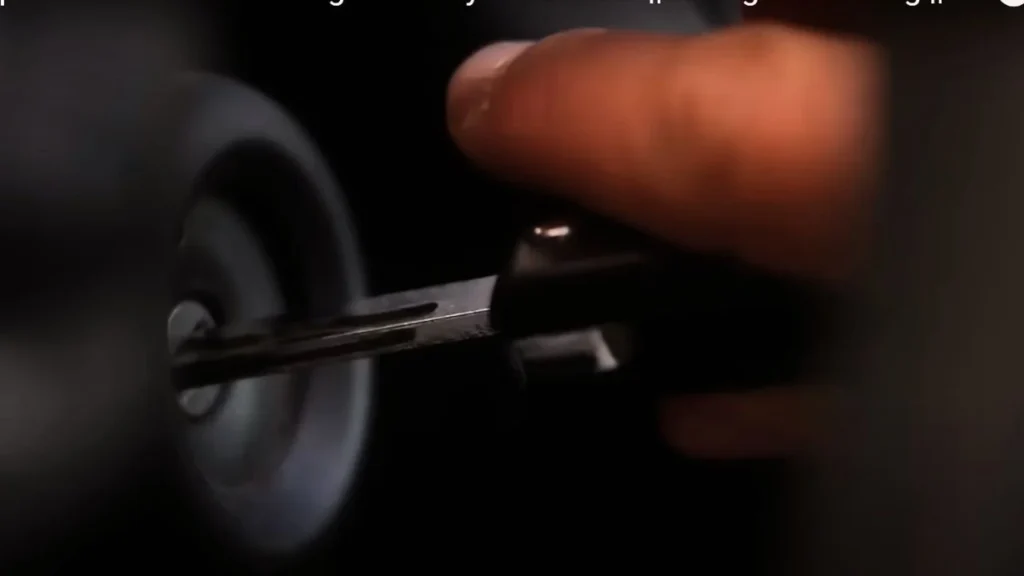
Turn on the engine of the donor vehicle and let it run for approximately 5 minutes. This wait time ensures that some charge transfers to the dead battery. Studies show that 10-15 minutes of running time improves jump-start success by up to 20%.
Step 5: Start the Honda Pilot
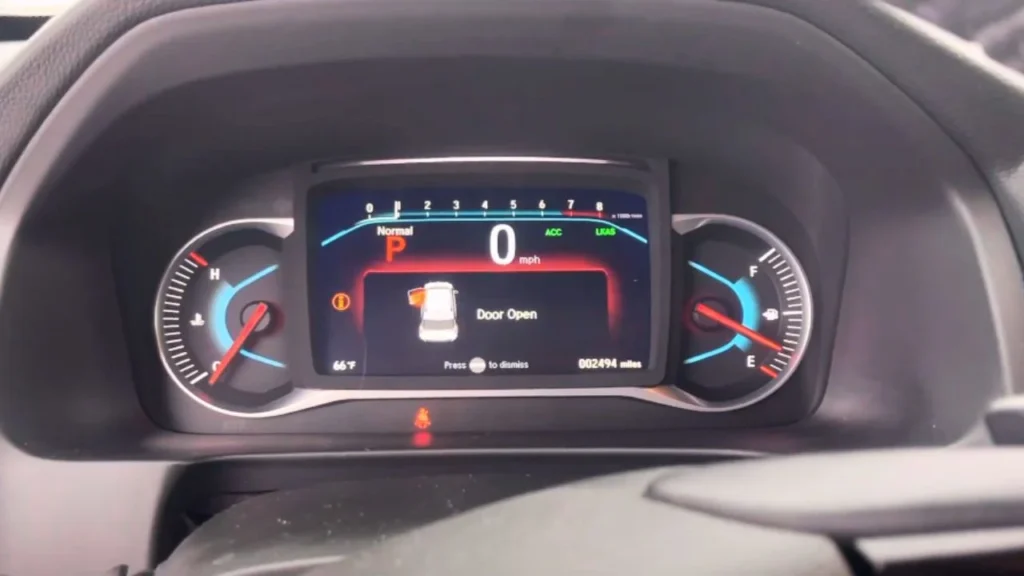
Now, try starting the Honda Pilot. If it doesn’t start immediately, wait another 3-5 minutes and try again. Remember, a second attempt often succeeds in around 60% of cases after this brief pause.
Step 6: Remove the Jumper Cables
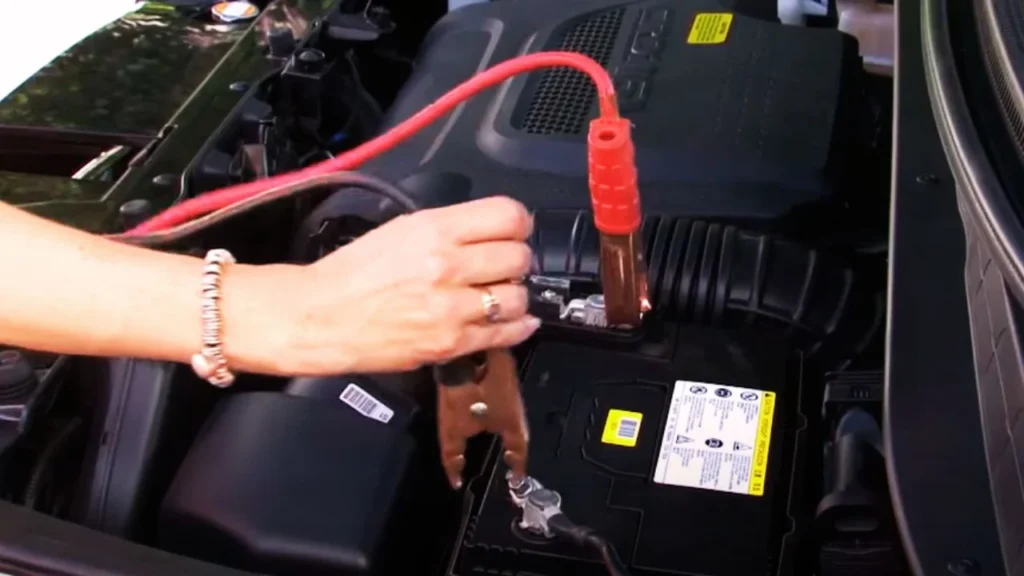
Remove the cables in reverse order to avoid sparking. First, detach the black cable from the Honda Pilot, then from the donor vehicle. Remove the red cable last, ensuring careful handling. Properly disconnecting the cables can prevent 1 in 5 electrical mishaps during a jump start.
Step 7: Let the Engine Run

Once the Honda Pilot starts, keep the engine running for 15-20 minutes to recharge the battery. This period is essential to avoid another stall, as most car batteries need a minimum of 20 minutes to regain enough power for short-term use.
Learn if it’s possible to jump start a car without a battery in our informative guide for 2024.
Safety Guide
Jump-starting a vehicle can be risky if not done carefully. Prioritizing safety ensures a smooth and hazard-free process.
Importance of Safety When Jump-Starting

When jump-starting a Honda Pilot, safety is the top priority. I can’t stress enough how crucial it is to follow each step carefully to prevent injury or damage. Over 50% of car battery-related accidents come from improper handling, so let’s break down some key precautions.
Initial Checks and Preparation
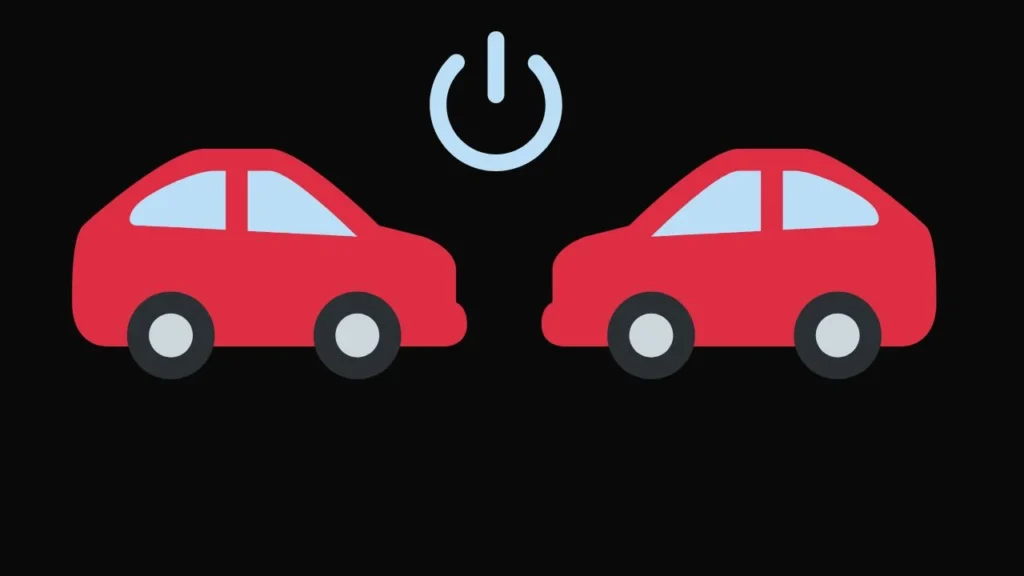
First, double-check that both vehicles are turned off before attaching the cables. This may seem basic, but it’s vital to reduce any risk of sudden electrical surges. A small oversight here could lead to a costly mistake.
Correct Cable Connection
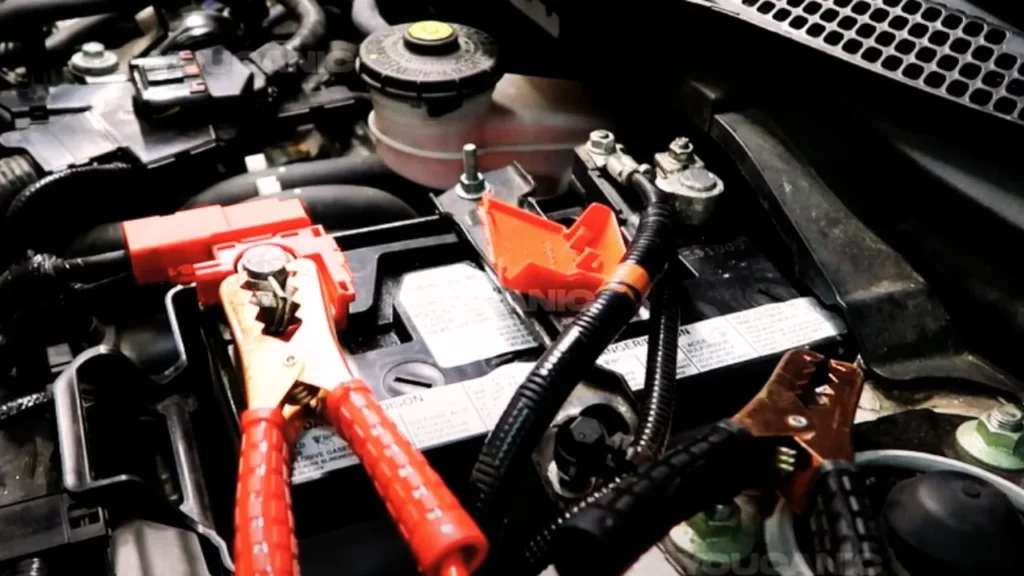
Always attach the jumper cables in the correct order. Start with the red (positive) cable to the dead battery’s positive terminal, followed by connecting it to the donor battery. Incorrectly attached cables can damage both batteries and, in some cases, the vehicle’s electrical system.
Keep Metal Objects Away
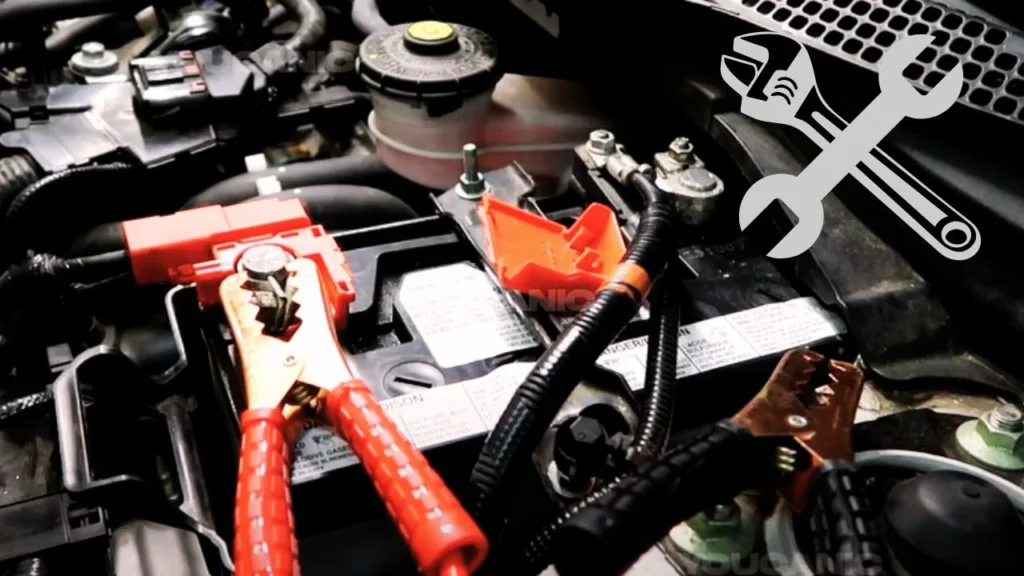
Ensure there are no metal objects near the battery during the process. Even a small metallic item, like a wrench, can cause dangerous sparks if it contacts the terminals. More than 30% of battery-related injuries are due to accidental short circuits.
Avoid Contact with Metal Clamps
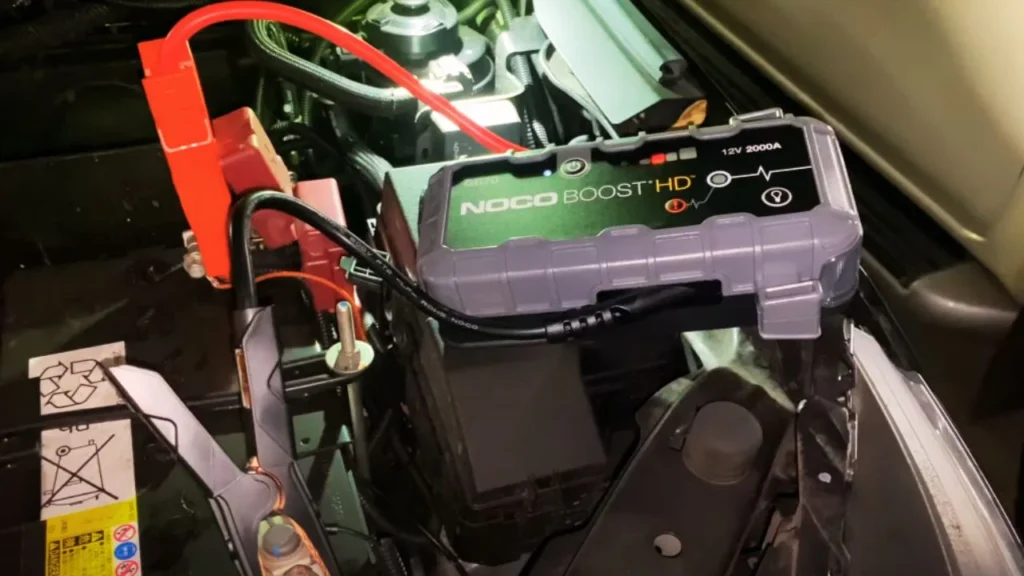
Don’t touch the metal parts of the cable clamps while jump-starting. This may sound like common sense, but staying cautious can help prevent potential shocks or burns.
Maintain Safe Distance from Batteries
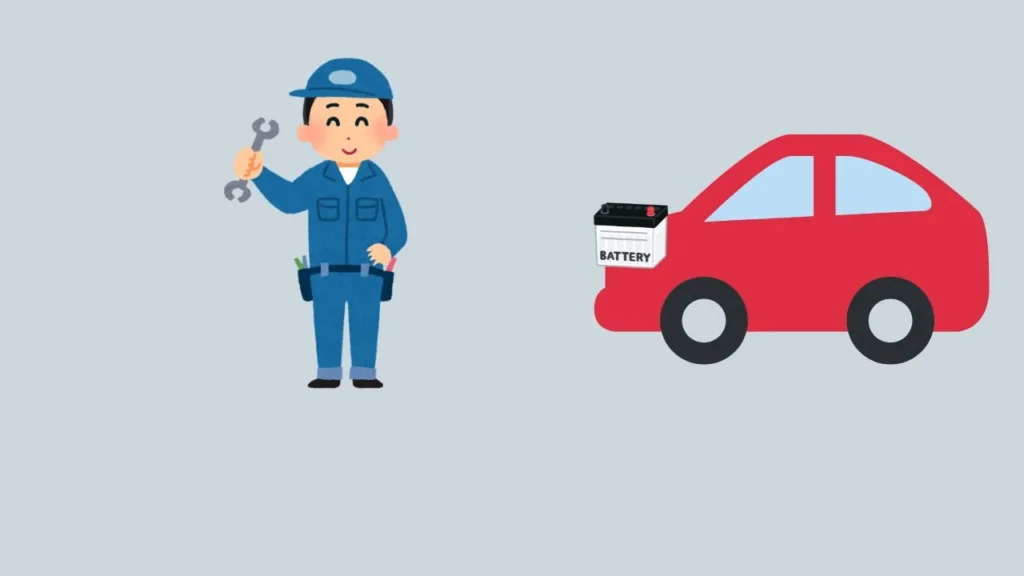
Keep a safe distance from the batteries when the engines are running. Batteries emit hydrogen gas, which is flammable. In fact, around 20% of jump-start accidents are related to gas ignition, so maintaining a safe space is essential.
Proper Cable Removal
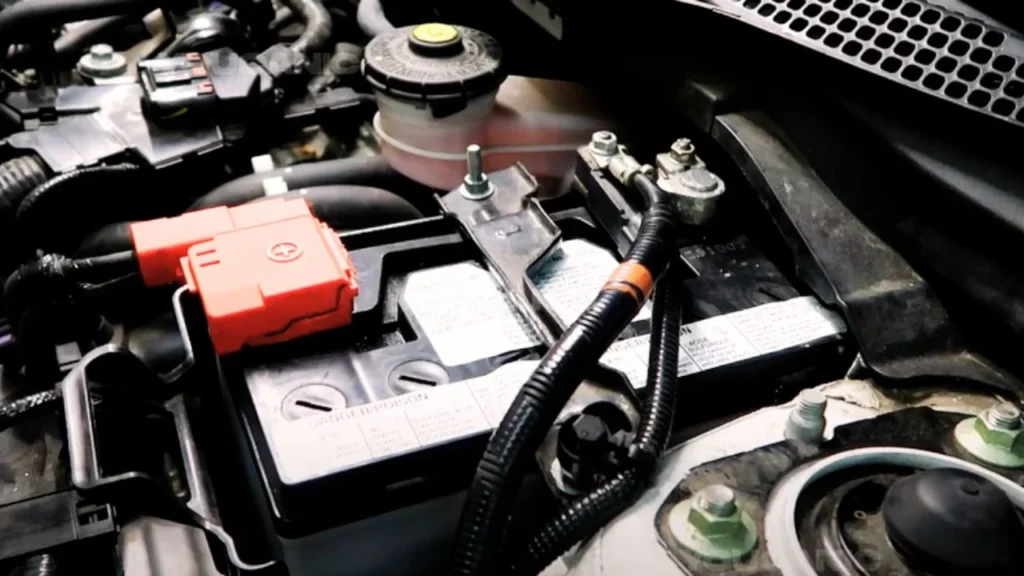
Remember to remove the cables in the reverse order once the vehicle is running: black (negative) cable from the Honda Pilot first, then the donor car. This prevents accidental shocks or short circuits that could damage your battery or electrical components. Check out the best jump starter for V8 engines to keep your powerful vehicle running smoothly.
Final Words
If you ever face a dead battery, knowing how to jump start a Honda Pilot is a lifesaver. I’ve found that following the correct steps, including safely connecting the cables and running the car for at least 20 minutes, makes all the difference.
Trust me, having these steps in mind helps avoid frustration and gets you back on the road in under 30 minutes. Always stay prepared with the right tools and knowledge!
FAQs
What should I do if my Honda Pilot doesn’t start after jump-starting?
If your Honda Pilot doesn’t start after jump-starting, double-check the cable connections to ensure they’re attached securely and correctly. Let the donor vehicle run for a few more minutes before trying again.
If it still doesn’t start, the issue might be with the battery itself, or there could be a problem with the alternator or starter. In this case, calling roadside assistance or a mechanic is a good option. It’s also wise to inspect for any blown fuses or corrosion on the terminals that might be hindering the connection.
How long should I let my Honda Pilot run after jump-starting it?
After jump-starting your Honda Pilot, let the engine run for at least 20-30 minutes to allow the battery to recharge sufficiently. If possible, take the vehicle for a short drive during this time to maintain a higher RPM, which helps the alternator recharge the battery faster.
This step ensures the battery has enough power for the next start. If you notice the battery losing power again soon after, it may be time to have it tested or replaced to avoid future jump-starts. Discover the top options for the best truck jump starter for emergencies to ensure you’re always prepared.
Can I damage my Honda Pilot by jump-starting it incorrectly?
Yes, improper jump-starting can damage your Honda Pilot. Reversing the cable connections (attaching positive to negative or vice versa) can cause serious electrical damage or even create sparks that may lead to battery explosions.
Incorrect jump-starting can also harm the vehicle’s sensitive electronics, such as the ECU (engine control unit). To avoid these risks, always connect the jumper cables in the correct order and ensure the metal clamps don’t touch each other.
Following the vehicle’s manual instructions for jump-starting helps protect your car from costly damage.
Is it safe to jump-start a Honda Pilot using a portable jump starter?
Yes, using a portable jump starter to jump-start your Honda Pilot is safe if done correctly. Portable jump starters are convenient and eliminate the need for a second vehicle. Make sure the device is fully charged before use and read the user manual for specific instructions.
Attach the clamps to the battery terminals (positive to positive, negative to a metal surface) and turn on the jump starter before attempting to start your vehicle. These devices are designed with safety features to prevent overcurrent or reverse polarity, making them a reliable option for emergencies.
